Heya Buttercup,
My name is Angela Mary and I’m a 32-year-old Illustrator and Blogger living in Bangalore, India with my 2 glorious labradors.
I’ve been making money online from home since 2015. Back then, I was freelancing and taking up drawing projects to make ends meet.
I used Instagram mainly, but I slowly started blogging because I fell in love with writing long articles because it allowed me to connect with people more.

SEO and Pinterest have been my main sources of traffic for years.
It’s helped me build my email list – and in turn, I can promote my digital products and increase traffic to my blog posts.
But in late 2023, SEO kinda plummeted, and Google turned its back on all bloggers.
So, most of us have now migrated to Pinterest.
A lot of people don’t really know this but Pinterest can be your main source of traffic if you choose your blog niche carefully.
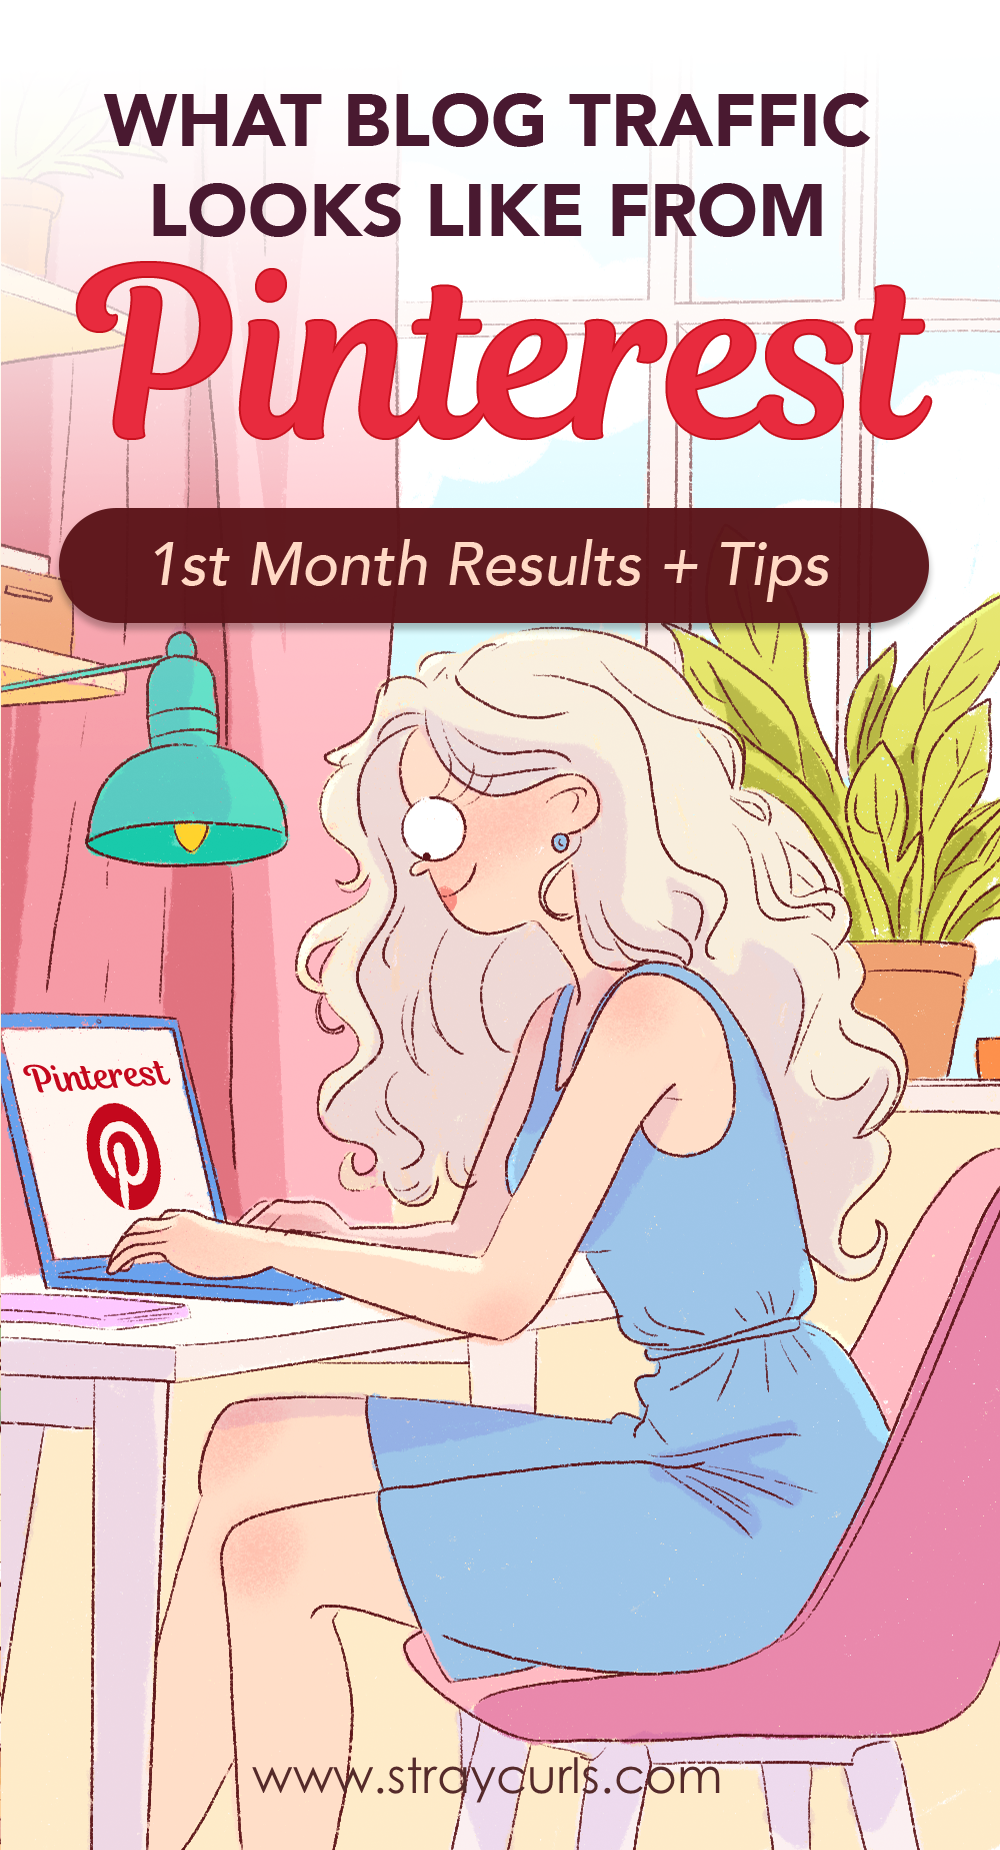
In this post, I’m going to talk about everything I do to start a blog and start pinning on Pinterest, I’ll even show you the traffic stats that you can expect to gain in a month or so. I’ll answer some questions that I get asked via email at the end too!
Let’s begin.
Now if you pick a very visual niche, you can grow your blog traffic really fast!
What is a good Pinterest Niche?

1. Home & Interior Design
- Small space decor ideas
- Modern farmhouse, minimalist, boho, and cozy home styles
- DIY home improvement projects
- Aesthetic room transformations
- Seasonal decor inspiration (fall, Christmas, spring refreshes, etc.)
- Mood board-style home inspiration
2. Food & Aesthetic Recipes
- Viral recipe trends (like cloud bread, dalgona coffee, overnight oats, cottage cheese ice cream, etc.)
- Cozy, seasonal recipes (pumpkin bread, hot chocolate, summer picnic food)
- Easy, quick, and budget-friendly meals
- Healthy meal prep & balanced eating
3. Fashion & Outfit Ideas (this works for Lifestyle Blogs)
- Capsule wardrobe & outfit planning
- Soft girl, dark academia, Parisian chic, and vintage aesthetics
- Seasonal fashion trends (cozy fall outfits, winter layering, summer dresses, spring neutrals)
- Celebrity-inspired outfit breakdowns
4. Beauty & Hair
- Hairstyle roundups (boho braids, layered cuts, natural curls, effortless waves, etc.)
- Soft & glowy makeup looks
- Korean beauty & clean girl aesthetic
- Skincare routines (minimalist, luxury, drugstore, acne-friendly)
- Haircare tips & transformation shots (before and afters do well!)
5. Travel & Wanderlust Aesthetic
- Dreamy, aesthetic travel photography (Santorini blues, Paris in the rain, cherry blossoms in Japan)
- Slow travel & off-the-beaten-path destinations
- Road trip itineraries & scenic route ideas
- Bucket list experiences (hot air balloon rides, cozy cabin stays, beach getaways)
- Minimalist packing & travel essentials
6. DIY & Crafting
- Easy DIY projects (furniture flipping, home decor, handmade gifts)
- Scrapbooking & aesthetic journaling
- Knitting, embroidery, & textile arts
- Digital planners & printable templates
7. Fitness & Wellness Aesthetics
- Gentle workouts (pilates, yoga, barre, walking challenges)
- Soft girl & slow fitness aesthetics
- Healthy morning & evening routine inspiration
- Self-care rituals & mindful movement
8. Wedding & Event Inspiration
- Wedding mood boards & aesthetic bridal trends
- Fairy tale & whimsical wedding themes
- Tablescapes & floral arrangement ideas
- Bridesmaid dress color palettes
If you pick any other niche, it is possible to get traffic, but the amount of traffic you get + the time it takes to hit 10K sessions will take time.
This is something I’ve explained to many bloggers that I’ve coached personally.
You can pick any niche you want, but if you’re blogging for the first time, pick one of these niches or something similar to this.
It doesn’t matter if you don’t have experience, what matters is you can learn and create articles for beginners in that niche.
Now that you understand what constitutes a good niche, let me explain how I started a brand-new website and what my pinning process looks like.
But before that really quick:
Here’s my free email course if you’d like to learn more about getting traffic from Pinterest.
Also, let’s get the affiliate disclaimer out of the way.
This post may include affiliate links, which means clicking on them might result in me making a commission at no extra cost to you. This allows me to run this blog ad-free and make content accessible for you for free. I also use this to pamper my beloved pups.

1. I picked a good niche
I started a new blog 20-ish days ago.
I am not going to reveal my blog niche or my website name, because every single blog/website I have revealed has been copied. I’ve had the misfortune of having my posts stolen or my pins duplicated.
(This is also why I sell my websites after it’s reached a good peak)
And the copying is done in scale, so it’s very difficult to grow when I’m too busy chasing the copy-cats.
However, I will say this, my niche is very visual.
If you are an artist/photographer, you can use your own photos. But if you’re not, you can use stock photos (I have a paid subscription to FreePik) or you can most definitely use AI photos.
For AI photos, FreePik allows you to create photos, but you can also take a subscription to Ideogram/Midjourney.
Yes, they’re expensive, but the quality of their pictures is top-notch if you learn how to write good prompts.
2. I created the website in 1 day
Creating websites comes naturally to me now because I’ve created and run dozens of websites in the last few years.
I’ll quickly go over what I do.
1. Domain and Hosting
I go to Dreamhost and pick a domain that’s very easy to spell and understand. It also needs to be heavily relevant to my niche!
So, if it were a garden blog, I’d go with something like: gardenhacksdaily.com or easygardentips.com or diygardenhacks.com
I’d want the URL to be so easy to spell that even a 3rd grader could type it in.
After I bought the domain, I just purchased a standard Hosting plan on Dreamhost.
Since I have all my websites on Dreamhost, they’re all on 1 Shared Plan, so I pay something around $300 for the hosting every 3 years and I can add an unlimited number of websites to them.
Why I love Dreamhost:
- They help you very quickly. My website got hacked once, and they told me what to do and helped me get it done asap.
- They don’t charge for solving problems. Sometimes, I’ve exceeded server space or my PHP wasn’t updated, the agent would do it for me for free.
- They’ve sorted out WordPress hiccups. Sometimes, when you accidentally install a plugin that wipes out your website, they’ll sit and restore the backup (they take a backup every 24 hours) and they don’t charge you for that either.
They’ve quite literally gotten me out of some very bad messes I’ve made (I experiment on my websites a lot) and they’ve never charged me extra.
There are no hidden costs or extra charges like other Hosting Apps.
Once that is done, I install WordPress via Dreamhost itself. It’s very simple. And if you get stuck with anything, you can just start a chat with a live agent and they’ll do it for you!
2. I install a basic theme with a good demo
I go to Envato and purchase a good WordPress theme that looks nice and is easy to customize.
For beginners I highly recommend:
Make sure you install the demo after the theme is installed, this is a done-for-you design. It doesn’t need to be pretty, it just needs to be efficient.
I quickly make a text logo (via Canva – it’s free) and upload it. I then select 1 basic color that will reflect on the links and menu – something eye-catching like royal purple or bright forest green.
3. I then put out the necessary pages

If you don’t have these pages, no ad network will accept you.
- About Page (ask Chatgpt to write you one, if you’re struggling. Tell it what you want it to include.)
- Contact Page (I have a standard one I use for most websites. I just include that I don’t accept guest posts and if they have any questions they can email me.)
- Terms and Conditions
- Privacy Policy
For the last 2 pages, I had a lawyer draft me one many years ago (after the whole GDPR thing came to play) but if you’re not able to afford one, simply look at multiple pages on different websites (in the same niche) and draft one yourself.
No biggie!
3. I write 5-8 blog posts
I don’t do much research, I just want some basic posts so that the blog doesn’t look empty. For this, I’ll go to Pinterest and just write my niche in search.
I’ll get some topic ideas that are trending and write blog posts on those topics.
The website creation takes 2-3 hours at most.
The posts take another 5-8 hours.
If all of this seems daunting for you, please get my book on 24-Month Blog plan, it helps with providing a clear strategy that you can follow month by month for the next 2 years so you have a proper plan to grow your blog.
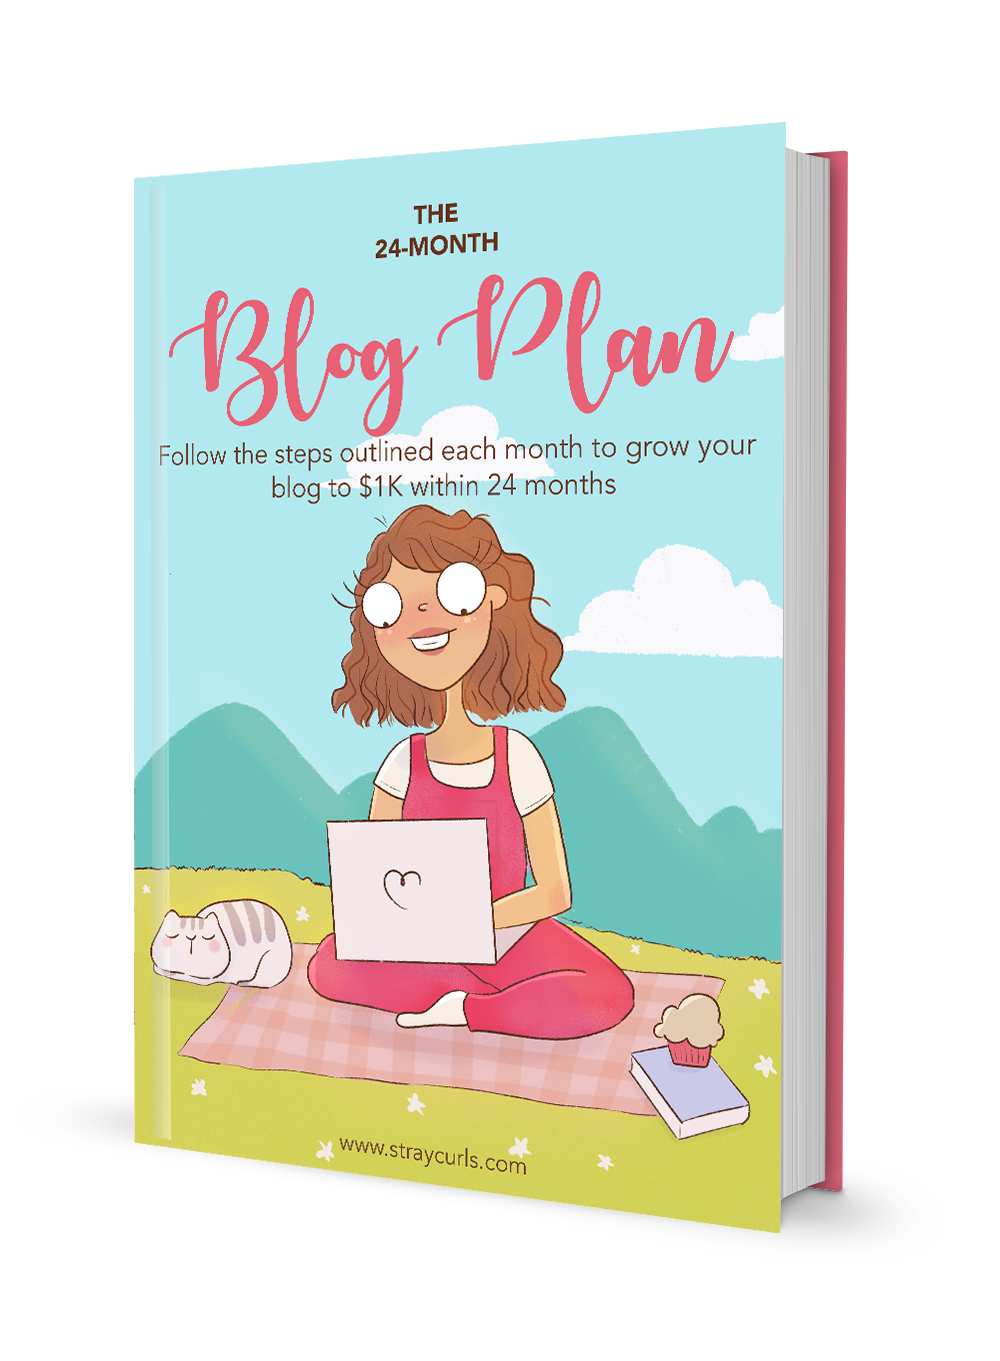
It’s only $14 because I understand how hard it is to start a blog and not want to spend too much.
4. I then do additional customizations
The idea is to build a brand without effort. This helps you get into an ad network. Just having 1 website is not enough – too many websites are being created these days.
And AI has made content creation way too easy, so to ensure that you don’t look like a spammer, having at least 2 active socials is a must!
I make a Facebook page with the same name as the blog.
If the URL is already taken, I’ll append the word “blog” to the name.
For instance, if www.facebook.com/gardenhacks/ is taken, I’ll make a page called www.facebook.com/gardenhacksblog/
I’ll then make a Pinterest Account and claim the website as well.
It’s quite easy and takes about a day to get this all done.
I also installed a free “Pin It” plugin on my WordPress blog – this makes a cute pin it button appear on all my photos inside my blog post.
And this helps me increase my traffic because if people read my blog and pin my images to their boards, it helps get more eyes on the post!
5. I now create pins and publish them on Pinterest
Because I have over 5-6 websites, I’ve tried and tested multiple pin designs/templates on them. These pin templates are eye-catching, so easy to customize, and get lots of clicks!
And I’m selling all of my personal pin templates here.
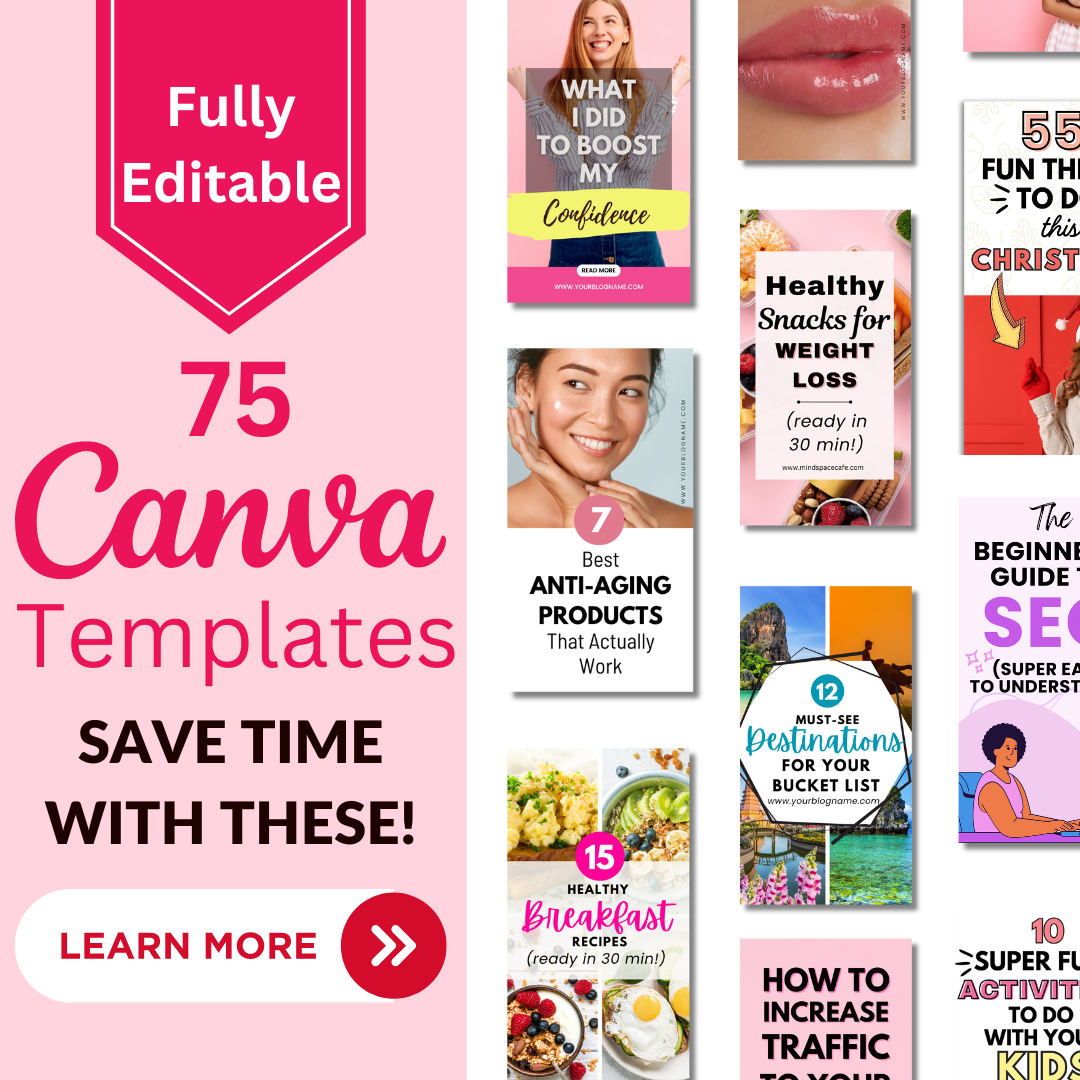
All you have to do is edit the text and images, and you’ll save so much time. These pins are extremely high-converting! They attract people and they get the click – that’s all you want, to maximize your chances of people clicking on them!
What does my pinning process look like?
For the first 2 weeks, I only pin 1-2 pins a day from different URLs in the blog to Pinterest. I make the pin title and pin description very simple – 1 sentence maximum.
And I wait for Pinterest to give me a few impressions on those.
This takes 2 weeks.
I don’t want to flood the algorithm with pins, because I need Pinterest to trust my account.
The moment I notice a few pins taking off slowly maybe getting 1-2K+ impressions, I understand that Pinterest now trusts me, and I scale to 3-4 pins a day.
These are for how-to or tutorial posts.
Once you’ve finished 2 months on Pinterest, you can now make round-up posts, where 1 post contains several ideas like,
- 36 curly hairstyles for school
- 24 lasagne recipes to wow your guests
- 20 casual business outfits you’ll adore
And for these types of posts, you can pin several pins from each to your Pinterest. I explain more about this here.
What is my pinning schedule?
I make 2-3 pins for each how-to/listicle.
Then I schedule them like this:
- 1st one for today.
- 2nd one for 3-5 days later.
- 3rd one for 7-10 days later.
Overall, I try not to exceed 5 pins a day.
For my lifestyle blog, I only pin 3-4 pins a day max but it’s getting me good traffic. Since it’s already established it doesn’t need that much volume.
And I’m quite comfortable sticking with that number for now.
I’m able to write about 4-5 blog posts a day for these websites. And if the whole week is full, I’ll focus on another website or do admin work.
What does Pinterest traffic look like for a new blog?
I get asked this question a lot.
I see a lot of bloggers telling me that their pin impressions are 0 for the first 10 days and they panic.
This is normal.
Pinterest has to figure out what you’re blogging about. They’re also wary of new accounts because they want to ensure you’re not a spammer and are producing quality content.
This is why it takes time to see traffic.
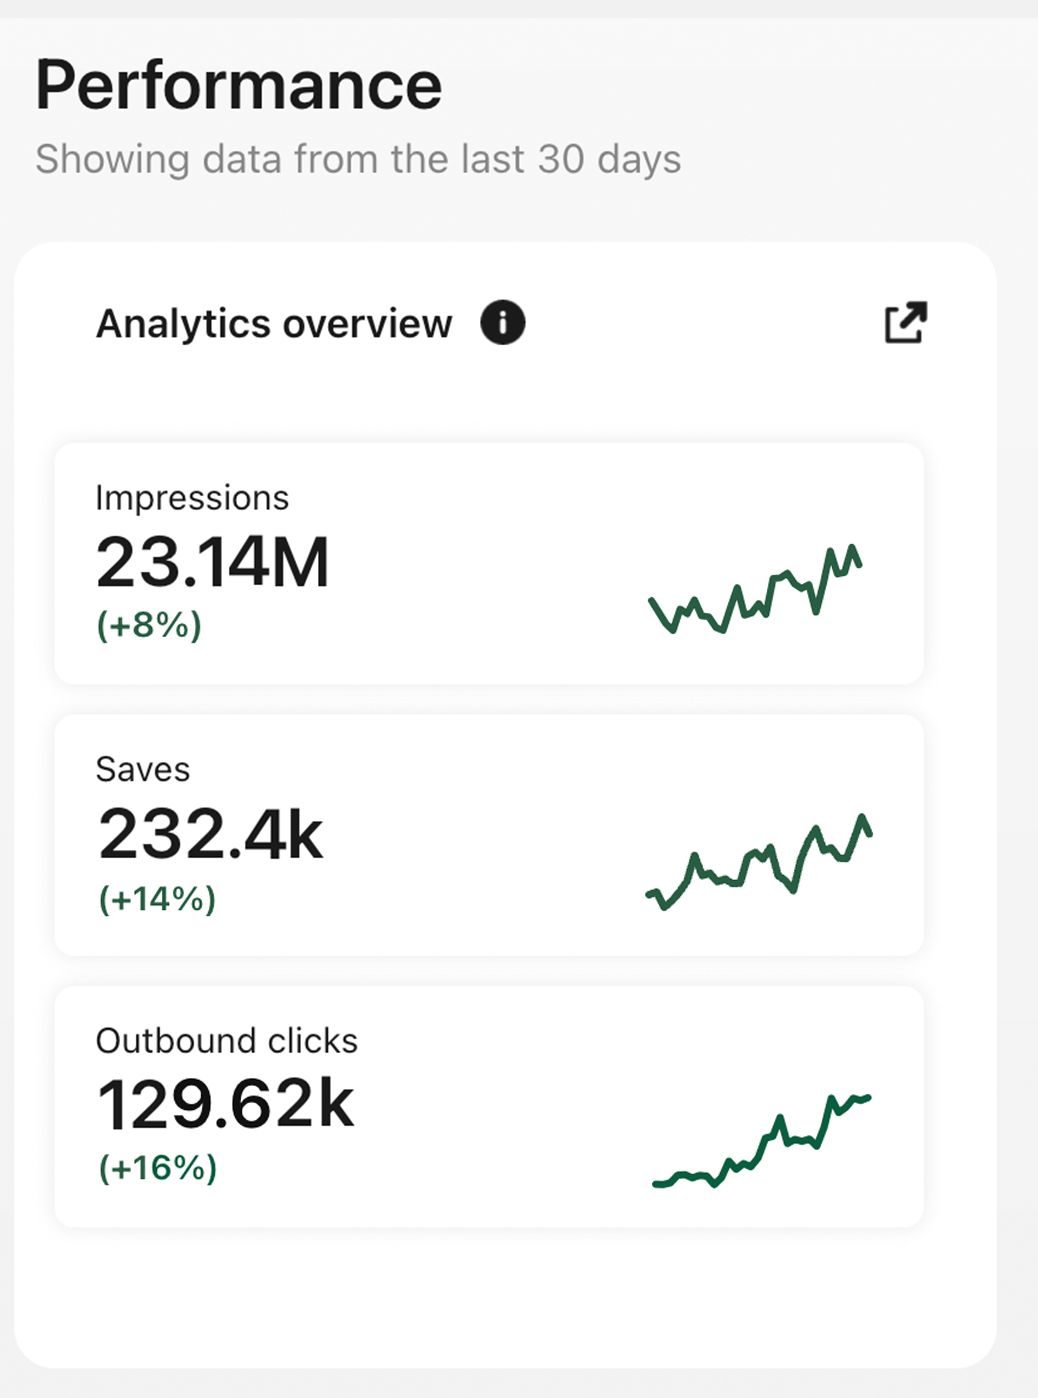
Now, for my brand new blog (which is 20 days old), here’s what traffic looks like from Pinterest.

You can see that it takes a good 2-3 weeks for traffic to start coming in.
I have about 40-ish pins on the account I think. And once you start gaining traffic, it will increase exponentially.
For my other blog, which I started pinning sometime in October, you can see how the stats slowly increase month after month.
I used the same strategy – 1-2 pins per day, till I was comfortable to 3-5 and then slowly scaled to 10, and then 15.
Note, that because this was a visual blog with lots of roundup posts, I was able to scale to 15 pins.

In a year or so, you can easily expect to get 3-5K clicks a day from Pinterest – that’s roughly about 150K sessions a month.
Which will earn you about 60-70 dollars a day on Mediavine. 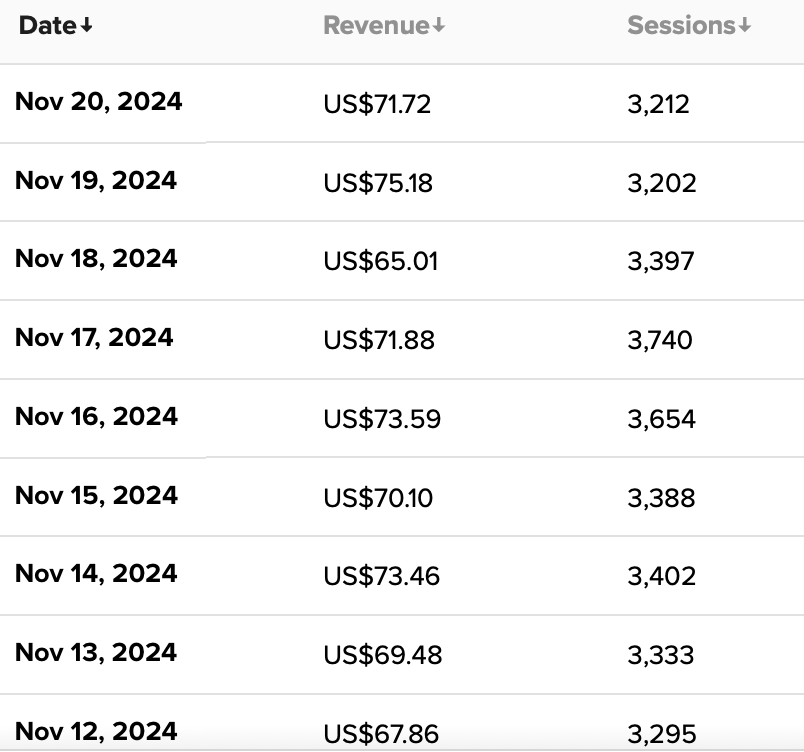
This comes to $3K a month with ad earnings depending on the niche you are in. If you have Amazon Affiliate Links on your blog (and sell digital products), you can easily make $5K a month.
How fast can you expect traffic to grow?
I understand that we’re all impatient when it comes to growing our blogs.
It’s not easy sitting and writing quality content and waiting for traffic, I get it.
But the speed at which traffic comes depends mainly on 3 factors:
1. Your Blog Niche
I covered the most successful blog niches at the beginning of this post. If you choose one of these, you will grow astoundingly fast.
If you choose a subset of a successful niche, let’s say you pick Vegan Recipes, it is a subset of the food niche, you will grow quickly, but it’s difficult to get a BIG chunk of traffic.
The narrower you go, the lesser your traffic potential, because you’re targeting a subset.
2. Your Keyword Research
You cannot succeed on Pinterest as a newbie blogger unless you use a Keyword Tool.
I will stand by PinClicks because I use this for all my blogs and it’s by far totally worth the money.
I was bowled over completely by the free trial and this helped me get my blog traffic to grow on all my websites!
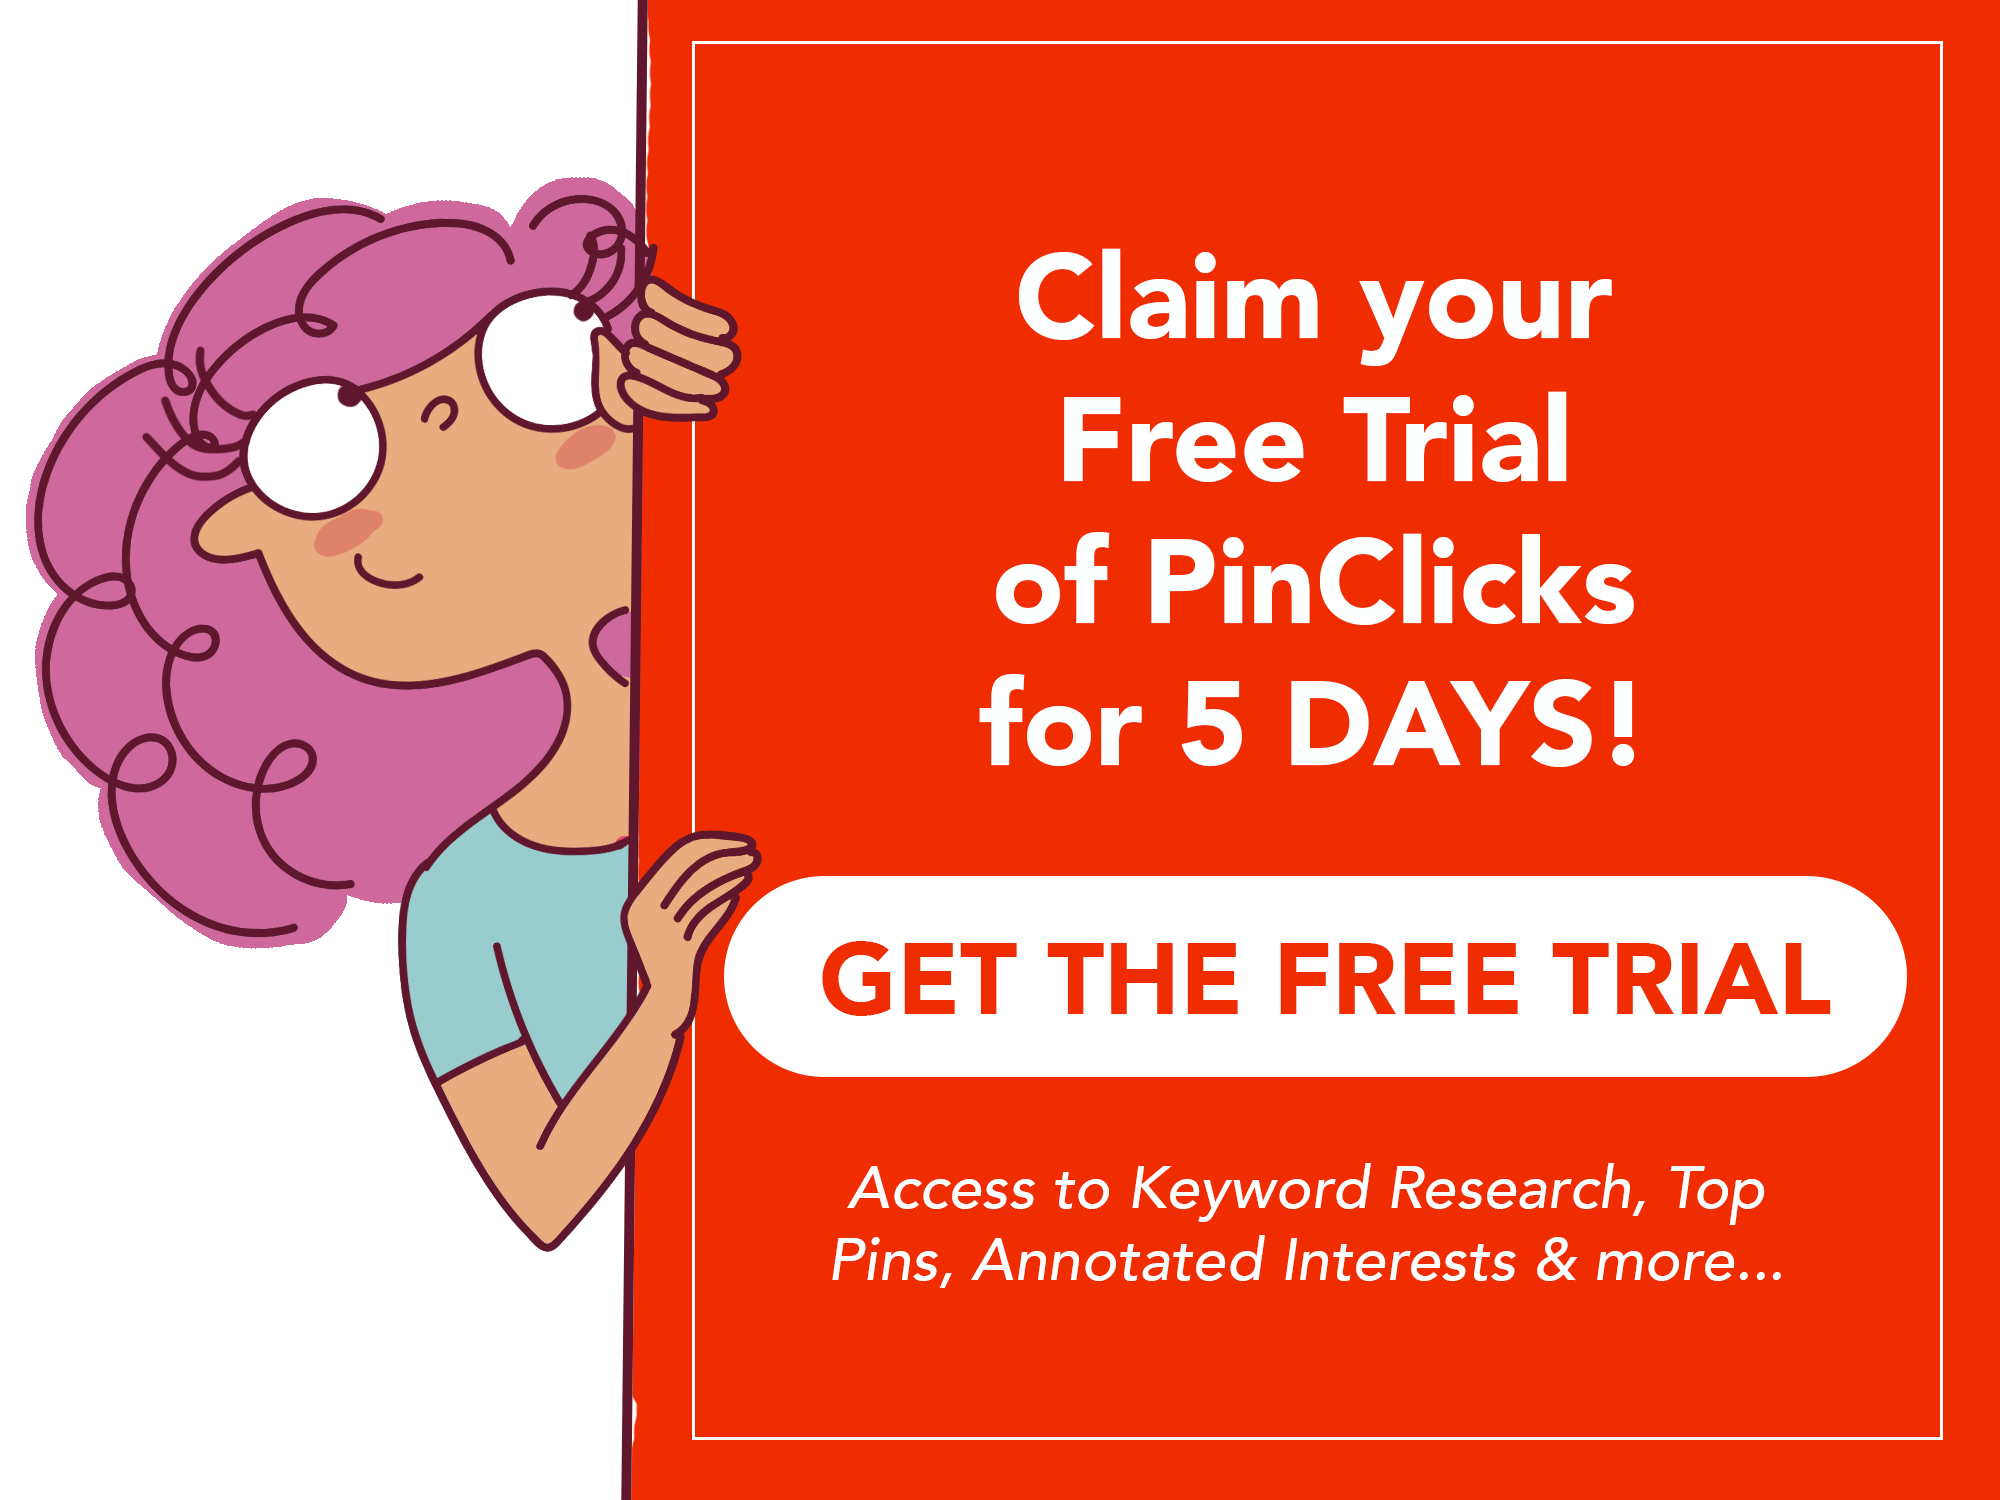
CLAIM FREE 5-DAY TRIAL HERE OF PIN CLICKS
If you’re purchasing a plan, remember to use code StrayCurls25OFF to get 25% off any payment plan you choose!
Every client of mine (whom I coach) also uses Pin Clicks and they’ve seen the difference when they use it.
It brings in a lot of Pinterest traffic rather quickly because it helps you understand what topics to pick.
I explain how I use it to make viral pins and how I do keyword research here.
3. How Good Your Pin Designs Are
A lot of good bloggers who write really, really good content don’t get traffic from Pinterest.
Because they genuinely don’t have a good idea for design or graphics.
It’s not a flaw, it’s just a skill that they need to improve in order to get traffic from Pinterest.
Pinterest is a visual platform – like Instagram.
If you don’t capture your audience’s interest in that 0.2 seconds, you don’t get the click, you don’t get them to click to your website.
Now, you can spend time improving your design. I’ve written a post here on 9 mistakes you might be making with your pin designs.
Or you can just get my templates here.
This will really help you get those clicks!
They’re all tried and tested templates. I’ve been working on them for over 2 months, and I finally feel comfortable releasing them. =)
If you’re looking for more help with Pinterest, you can get my eBook here where I explain how to grow your account from scratch and talk about what pins you can pin.
You might also find these posts helpful:
- My honest review of PinClicks after using it for 6 months
- How to grow your email list using Pinterest
- How Pinterest is making me over $3K a month
- How many times can a URL be shared in 1 day?
- What to do if someone steals your pin?
- How to find Pinterest keywords for your blog
- 9 Pin Design mistakes that are killing your blog traffic
- How to use PinClicks to create a viral pin design

Thank you for this! I am so sick and tired of seeing people with ridiculously high traffic and it’s so demotivating. I can’t even tell you! Thank you, this really gives me hope. Are you still taking on coaching clients? Do you help with Pinterest?
Hey Joanne,
I completely understand. That’s why I wrote this post. I want people to know that it takes time to gain traffic. And it doesn’t happen so quickly. Yes, I still am. Would you like some help with Pinterest?
Warm regards,
Angela
I needed this. I’m on my second month and I only have 100 impressions. My niche is personal development. Is it possible to grow?
Of course Brienne. You’re just started. Please give it at least 2-3 months for your pins to start showing up properly and bringing you the beginning stages of traffic.
Warm regards,
Angela
Great post again!! Do you use group boards or tailwind communities for account visibility and engagement? Or do you use any strategy to warm up your account before pinning the first pins? Thank you.
Thank you Tracy. No, I don’t. Tailwind Communities is a great idea and since Tailwind is approved by Pinterest, you can most definitely use it. But I prefer using the Native Pinterest Scheduler because it tells Pinterest that I’m spending time on the platform – this is one of their green signals and they actually like it. They reward you for this. =)
Warm regards,
Angela
Hi Angela,
I am a big fan. This post is so helpful. Thanks for sharing your pinning schedule and all your tips on Pinterest, you’re always very helpful and sweet. I am so excited about the templates you designed. I always thought your pins were special and wondered if you had it in mind to create templates to sell. I am so excited, they will truly reduce the time I take to make pins. And I know they will for sure bring me more views. I bought templates in the past but they have not helped me much. After reading your post “9 Pinterest Design Mistakes”. I noted everything and started to think about color, design, and writing better descriptions. I started pinning on Pinterest 8 days ago and I do see where my pins are picking up. My impressions are already at 1.7k. I also purchase your course on Pinterest and it’s the best. I purchased the templates a few hours ago but it says it’s waiting for payment confirmation from my bank. I’m not sure if there is a delay or if the transaction did not go through but I’ll check on it tomorrow. Thanks for all the advice.
PS. I’ll be in your coaching sessions very soon :)
Hey Tanika,
Thank you so much. I’ve already re-sent you the download link to your email, please check both email accounts, even the Paypal email for an email from Sendowl. Let me know if everything is good on your end. Apart from pins, make sure you’re being consistent 3-5 pins daily will really help you see a big difference and you’ll start getting those impressions and clicks!
If you have any questions, let me know. I’m always happy to hear from you! :)
Warm regards,
Angela