You’ve been blogging for a while now.
Every blogger online tells you that having an email list is super duper important. You know and you’ve been trying to grow your email list but something isn’t clicking.
If you are reading this blog post and fall into any one category below:
- You don’t have an email list because you don’t know where to start
- You have an email list but it’s growing super slowly (like 1-2 subscribers a day)
- Or you have an email list of freebie hoarders (people who just join to get your freebie and then become ghosts)
Don’t feel bad, because I’ve made all of these email list mistakes and have had to grow my email list from scratch.
I had an email list from my previous blog. But it was very disorganized. It had people who were interested in food, art, adventure, and creativity. I hadn’t segmented my list.
So, when I started Stray Curls, I found myself on square 1 again and it was difficult to delete everyone and grow it again from scratch.

I currently have about 10K email subscribers. I clean my list every three months because I only want to serve people who find my emails useful.
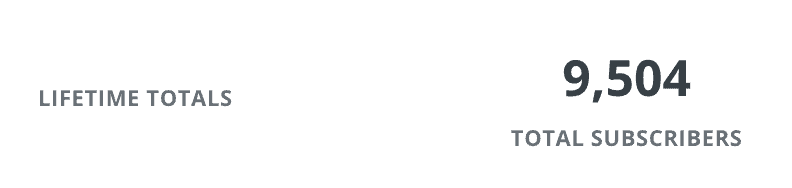
I get about 30-40 subscribers a day. And I make most of my income via my email list.
I’ve implemented simple sales funnels that take people on an intricate journey from just reading my posts to buying my eBooks/eCourses.
And in this post, I’m going to get down and dirty with how you can grow an email list of raving fans who want to buy your products/services or any product you vouch for via affiliate marketing!
If you don’t already have a blog and are thinking of starting one, then I have a step-by-step guide on starting a blog that will help you out!
This post includes affiliate links to products I truly (from the bottom of my heart) recommend, meaning at no extra cost to you, I may earn a small percentage which I will use to feed my sweet, adorable pooches.

Before I begin talking about how you can grow your email list, I want to delve into the benefits of having an email list in the first place.
Table of Contents
Benefits of having an email list
1. You own your email list
Unlike with social media, your email list is yours forever.
When you are dependent on social media, you’re living on their terms.

Social Media is unpredictable.
Your account can get suspended for no reason. What happens next? You’ve lost access to all of your followers.
Or worse? They can be a sudden algorithm change and your posts will not be seen by over 80% of your audience. So, all that hard work you’ve done to build your audience will have been for nothing.
Added to this, social media is a pain to maintain. You have to constantly push out content just to be seen.
However, with an email list, you own your followers.
2. An email list builds trust
An email list builds a brand. Because your audience is constantly hearing from you every week, they start trusting your brand more and more.
An email list is the best way to keep in touch with your followers.

And because emails are so private, your readers can reply to your emails and ask you questions. They will feel like they’re talking to their own mentor.
And building this trust is priceless. Because this is what the foundation of a good blog is built on.
3. An email list makes you a lot of money
Email lists build loyalty.
And when your readers are ready to buy a product that you coincidentally sell, they’ll think of you first because you’re constantly touching base with them!
It’s the best way to get eyes on your latest blog post or launch your own product.
Most of my sales come from people on my email list.
If they’re usually hesitant to buy a product, they download my freebies first. After receiving a 7-day email sequence that warms them up and encourages them to buy the related product, they then receive weekly newsletters from Yours Truly.
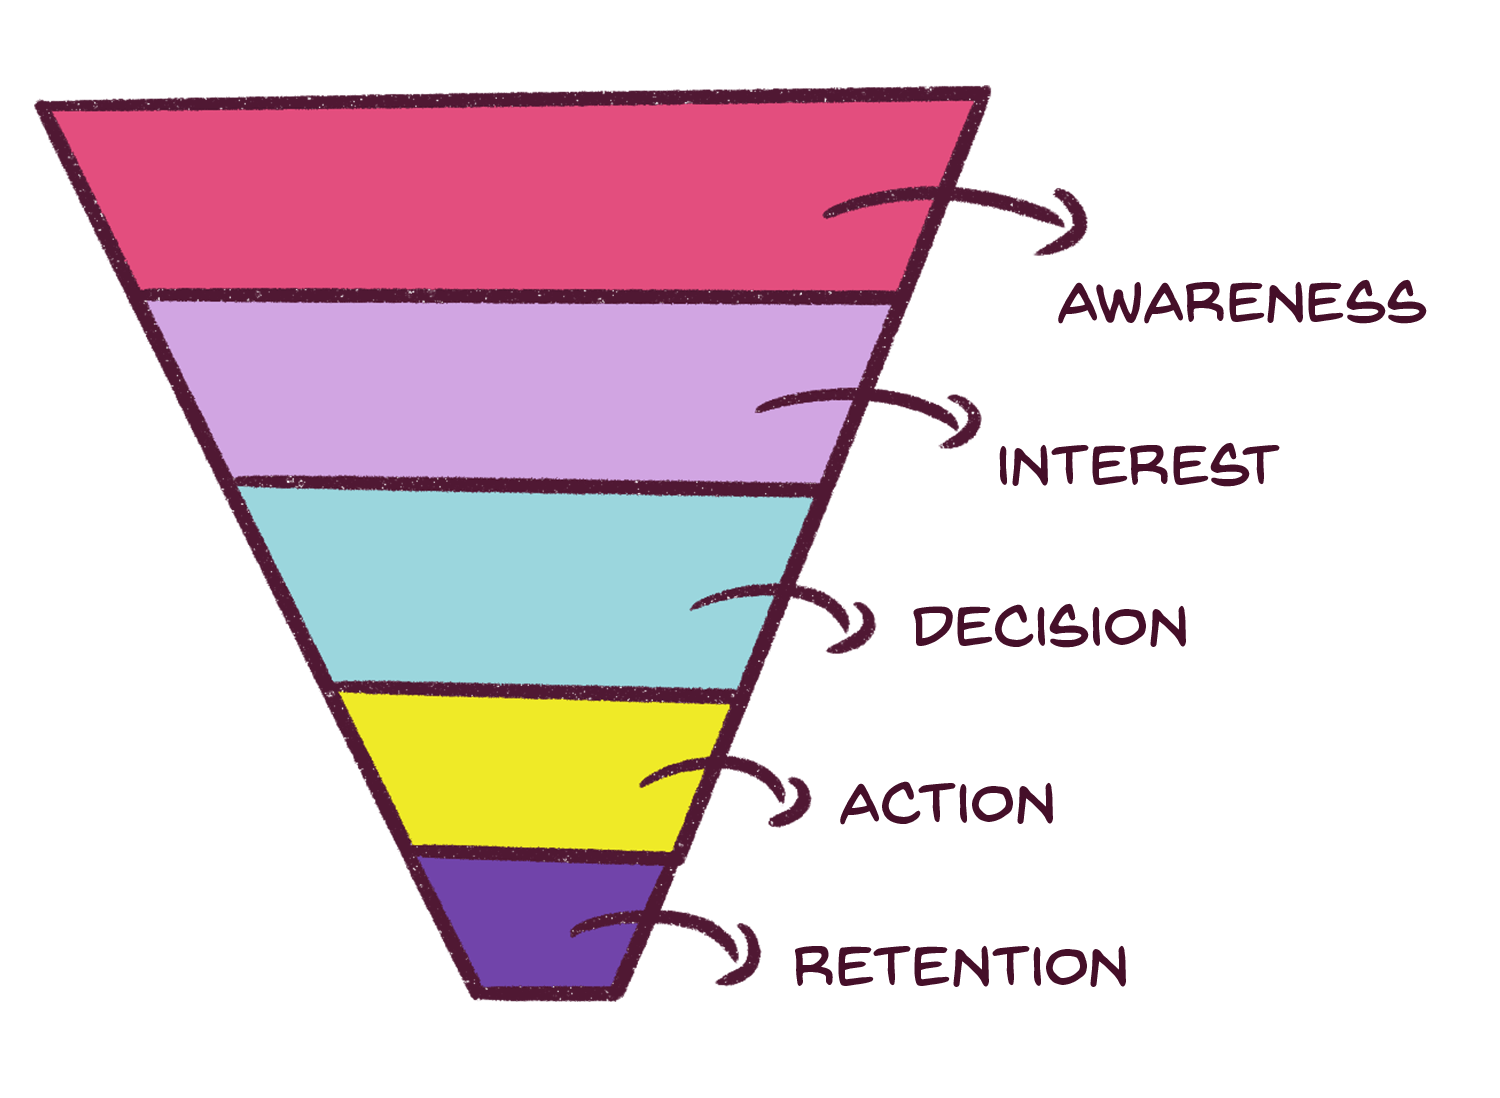
All of this helps the reader move up the customer journey and they eventually buy my products.
Once they buy a couple of my products, they eventually become brand ambassadors by joining my affiliate program and spreading the word!
This is called a sales funnel.
I have already written a very detailed post explaining sales funnels and the way to go about building them, so you can read about it there.
Okay, so now you know why you need to have an email list.
Let’s move on to building and growing one!
1. Figure out the purpose behind your email list
Before you go crazy trying to rope in your readers, figure out where you want to lead them first.
When you first start your blog, please write blog posts for 3-4 months before you build an email list. Especially if you haven’t narrowed down your niche first or figured out who your target audience is.
Once you’ve mastered these arenas, then sit down for a bit and ask yourself what are you going to do with the readers on your list?
Suppose you’re a Health Coach, and you want to make money via getting clients.
Every reader that gets added to your list will be fed with emails on fitness, diets, and so on, and the end goal would be them hiring you as their health coach.
Or let’s say you’re a Baker, and your goal is to get more business.
You can send them the fanciest cake you’ve baked that week in your weekly newsletter. The end goal would be to get your readers to ask you to bake a cake for them!
Or let’s say you’re a Personal Growth Blogger, and you’re monetizing via ads and affiliate marketing.
You can send emails every week highlighting the best posts you’ve written. The end goal would be to get your readers to add to your page views and click on those affiliate links.
Do you get my drift?
Please note that you can have more than 2-3 end goals for your email list. But each email/email series you send out should focus on only 1.
It becomes super easy to grow your email list once you’ve figured out what you want to do with your email list. I currently use ConvertKit and you can join their free plan!
Related posts you may enjoy:
- How to start a money-making blog this year!
- The ultimate guide to choosing a profitable niche + free workbook!
- How to identify your target audience + examples
2. Create a meaningful opt-in
Okay, you’ve figured out what you want to do with your email list.
Now, it’s time to create an opt-in. And no, you can’t just ask them to subscribe to your newsletter. Nobody is going to do that in today’s day and age.
Why?
Because there are countless blogs today. And people value their time and their inbox space.
You need to craft a very good freebie if you want people to join your list. Here are a few examples of freebies you can create:
- Workbooks
- Mini eBook
- Printables
- Templates
- Checklists
- Mini training video
If you’re finding it difficult to design your own lead magnet, I highly recommend checking out Bluchic’s Lead Magnet Templates on Canva. They’re so easy to work with and you can belt out so many pretty lead magnets in a quarter of the time it would take you to make one from scratch.
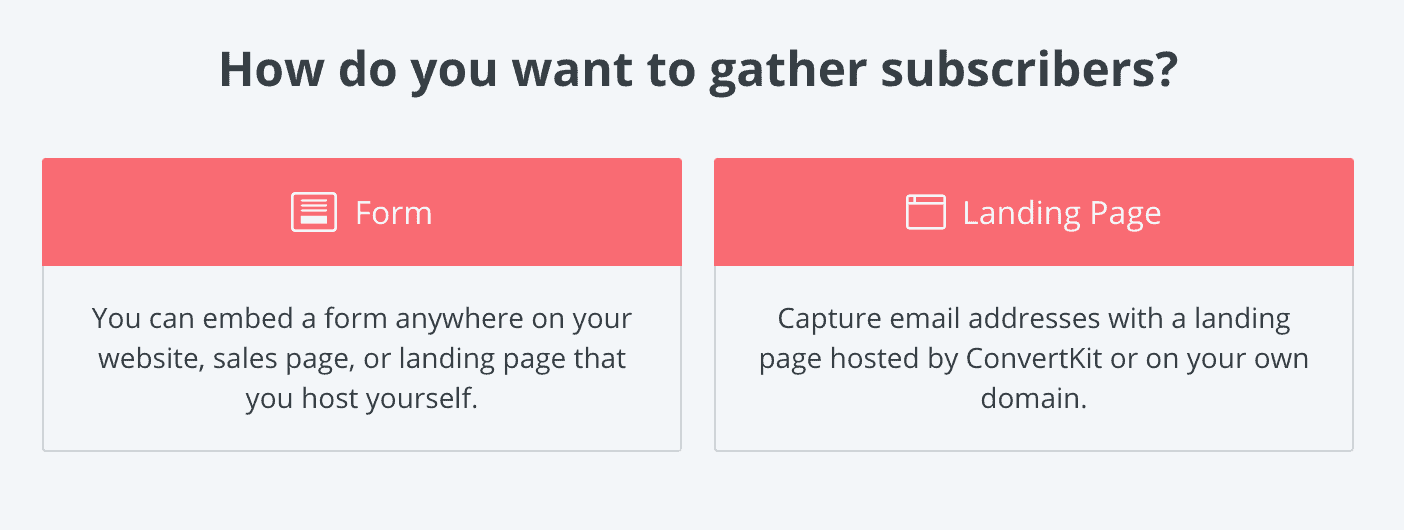
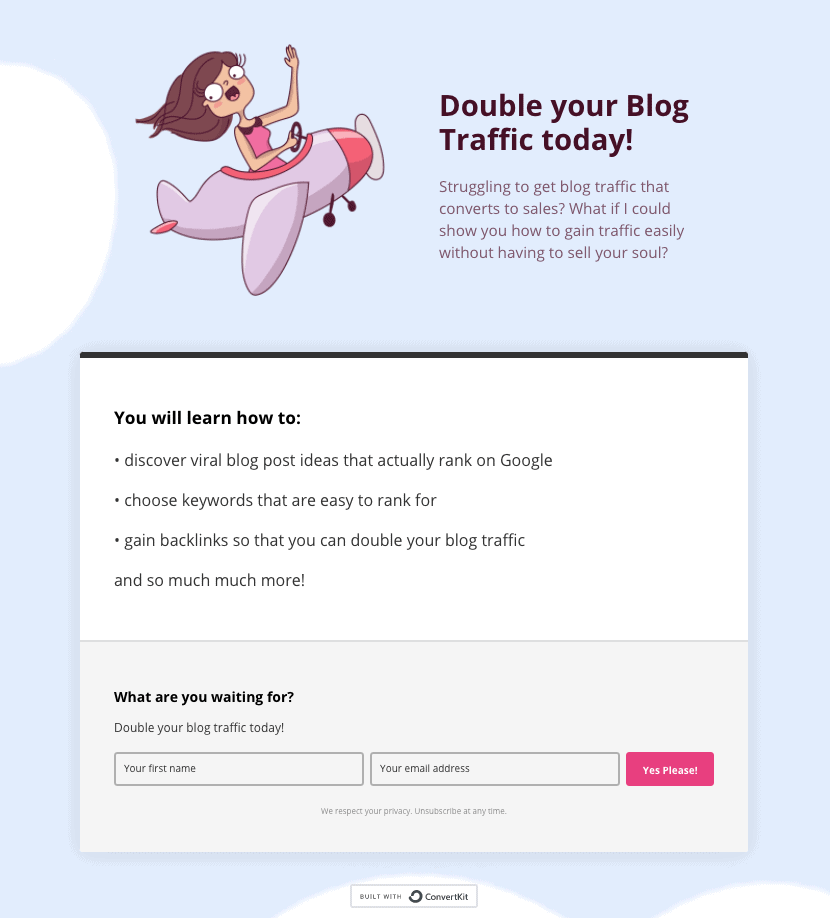
Once you finish creating your lead magnet, you need to make a form or landing page to host the freebie. I stick to Landing Pages right now because, unlike forms, they convert better.
I use ConvertKit to do all of this because everything is so beautiful and seamless. With ConvertKit, you can create both. You can check out this video to see everything the free plan has to offer.
Once you choose which one you want, you get so many templates to work with and they’re all easily editable.
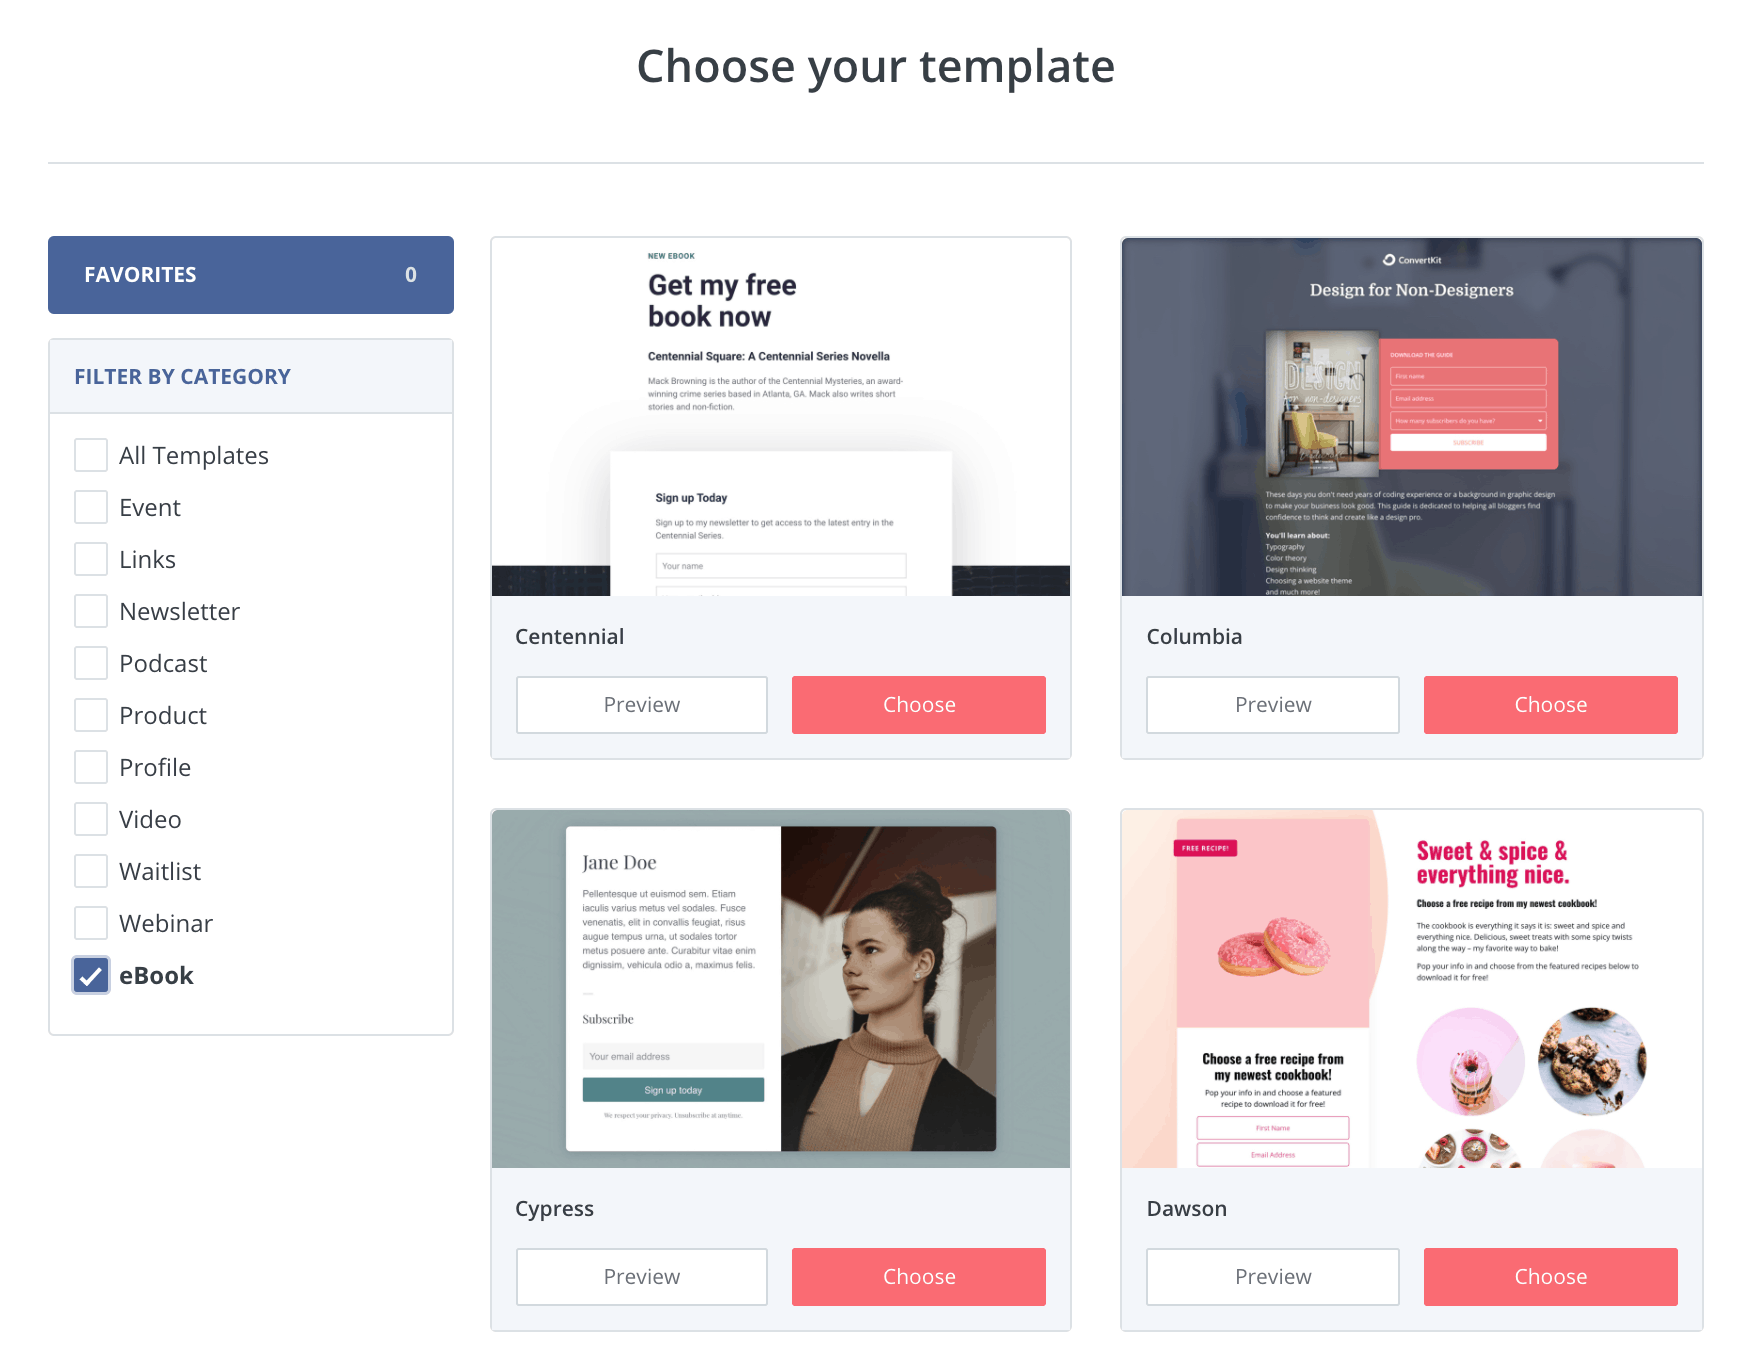
You just need to upload a photo of your lead magnet mock-up and edit the details and you’re done!
3. Every opt-in you create should be tied to an email series
People are very wary of buying new products.
You cannot just force people to buy something without warming them up a little first.
If you have 2 related freebies/lead magnets, they can both be followed by the same email series.
It’s very easy to set up in your email service provider.
In ConvertKit, once you create the form/landing page, there is an option to select a pre-existing email series that you’ve written before.
Here are a few things to remember when writing your email series:
- Confirmation Email: In this email, you instruct them how to get access to the download and include a nice button. You can also briefly describe what they are going to learn over the next few days.
- 1st Email: Introduction. Tell them a little about yourself, how you came to blog about your niche, and why you’re so passionate about it. Make sure that you mention your blog’s purpose and how they’re going to benefit from being on your email list and what they’re going to learn over the next few days.
- 2nd Email: Talk about a very common problem but end it with a unique twist. Talk about the solution to the problem and be extremely detailed.
- 3rd Email: Include more Useful Content + mention your product/service.
- 4th Email: Include more useful content and give a brief synopsis of how your product/service will solve their problem specifically.
- 5th Email: Talk about how your product/service will change their lives once they buy it. This can be a super lengthy email. Additionally, you can also include a case study of someone who purchased your product/service and saw a big change.
- 6th Email: Include testimonials and push for the sale.
Now this email sequence can be used to promote your own products or an affiliate product. You can also talk about your services. It doesn’t matter as long as it’s headed somewhere.
If at all you don’t have any of these and are monetizing via ads and affiliate marketing, then each email can talk about a particular topic closely related to your niche and you can end the post with 2-3 links to your most popular blog posts about the topic.
At the end of the day, remember to share everything you have. This builds trust and helps build strong relationships with your readers. This is very important if you want to grow as a Blogger.
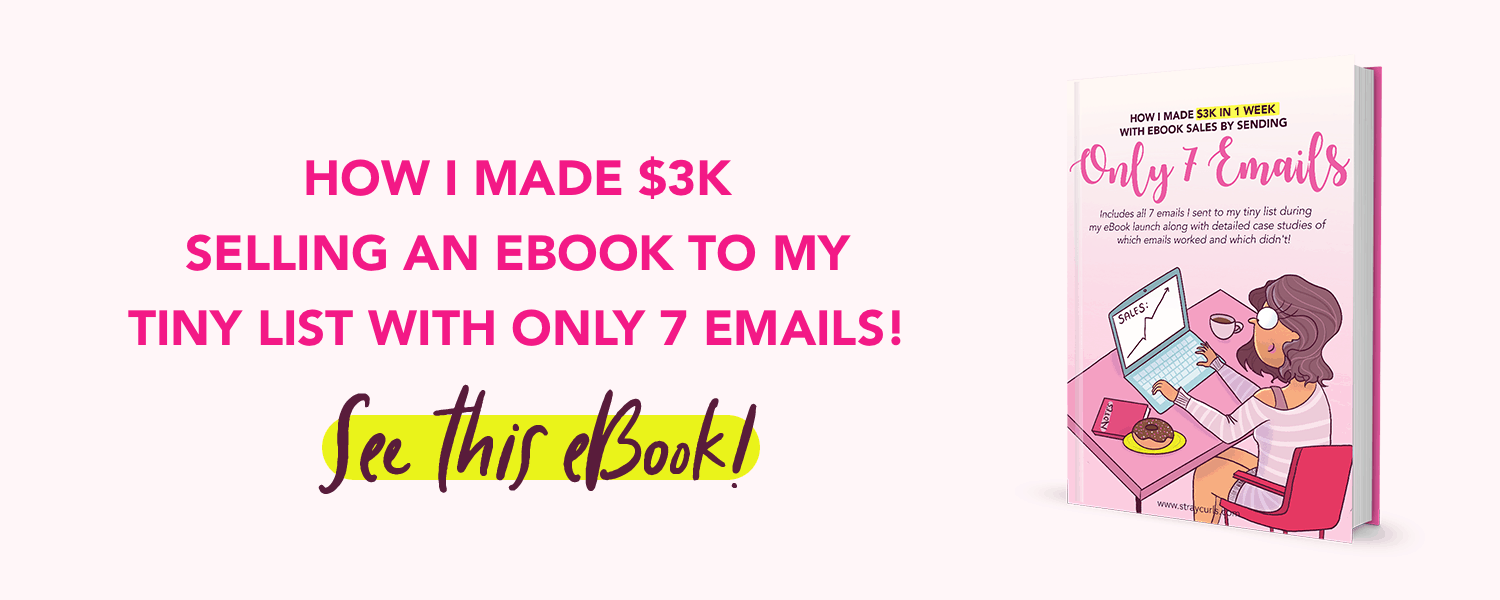
If you’re struggling with writing a launch email series, then I highly suggest you check out my eBook – 7 emails where I discuss how I made $3K in a week by sending only 7 emails to my tiny list.
4. Feature your opt-in everywhere
Alrighty, now you’ve created your landing page, you’re nearly there!
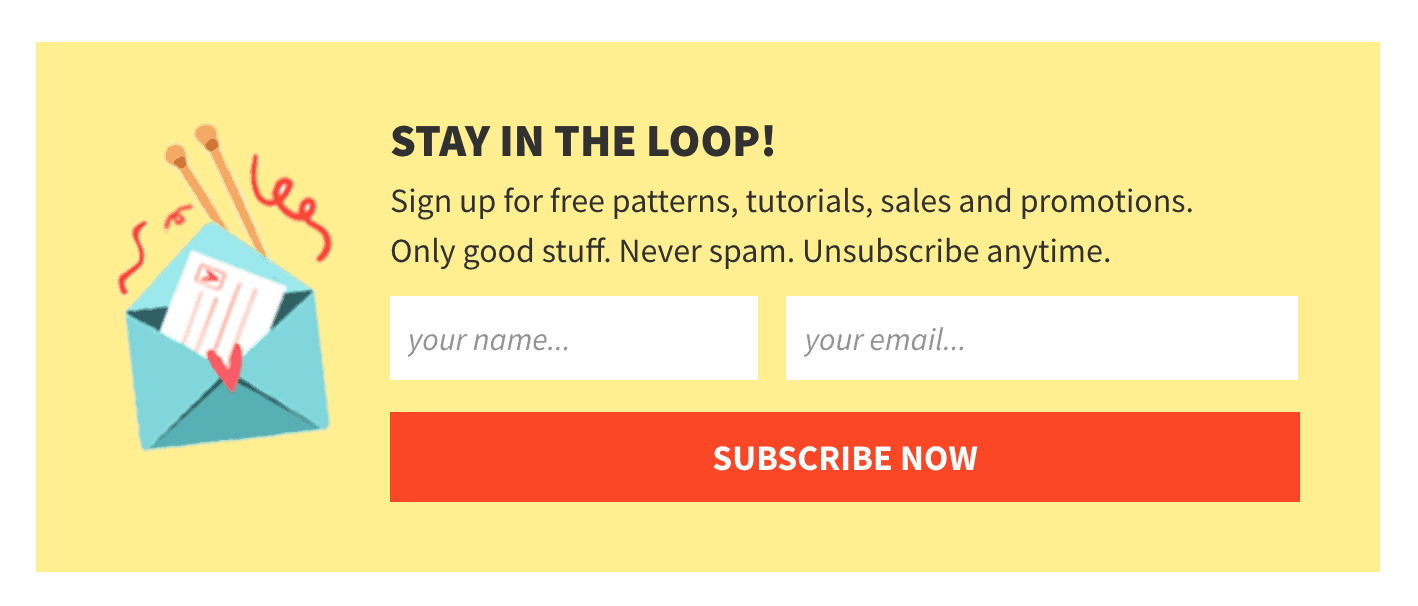
It’s time to create some fancy banners.
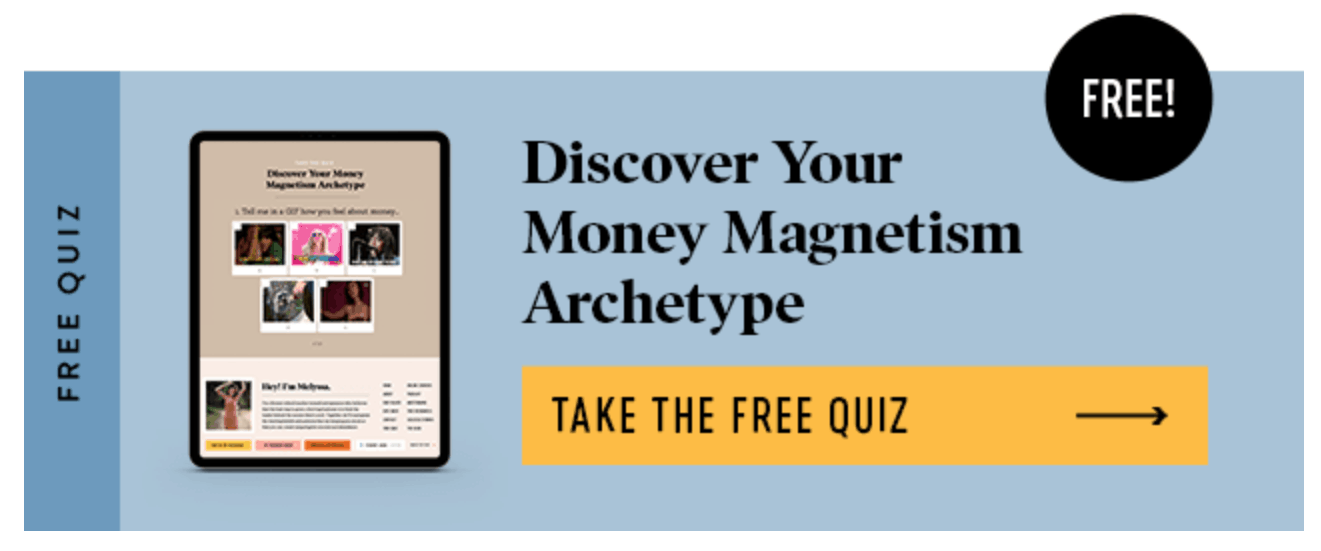
You will have to create horizontal and vertical banners/forms. Here’s an example of a horizontal banner that Melissa Gryffin features on her blog:
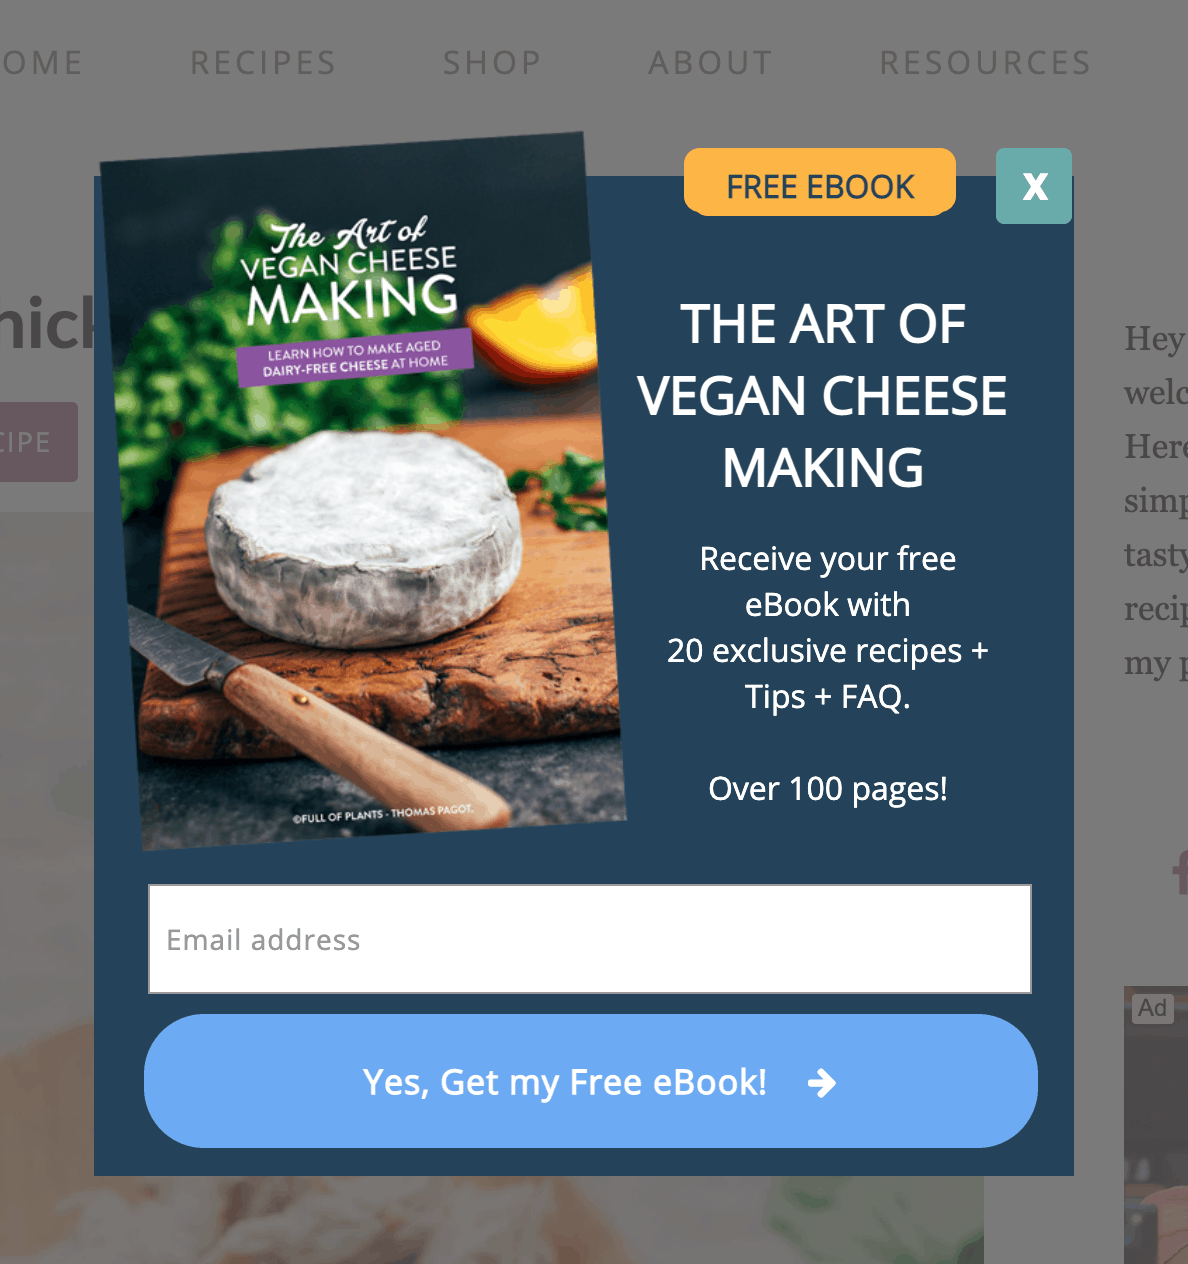
You could go all out and even place a welcome mat or a pop-up form. Check out how Thomas from Full of Plants does his pop-up form:
I prefer making images that link to my landing pages and then placing them in my blog posts. I try to place it before, in the middle, and at the end of every blog post because my posts are super long.
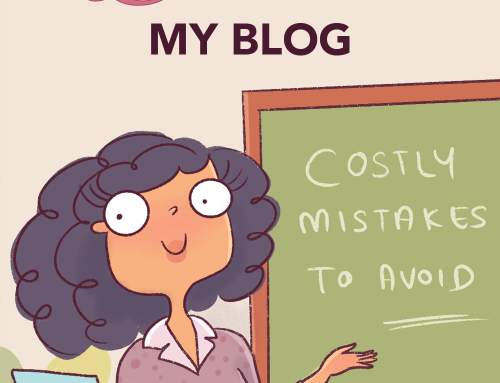
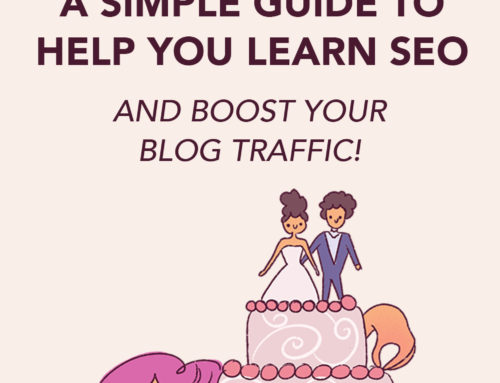
These are the images you’ll see in my blog posts:
Once you click on them, they take you to the landing page, where there are no distractions and all you have to do is enter your name and email to get the freebie.
You can check out ConvertKit’s free plan here.
Alternatively, you can use FloDesk (use this link to get 50% off forever) if you’re looking for a more cost-effective solution to ConvertKit. They too have very pretty templates. However, it’s very difficult to segment your list and create sales funnels with them.
They are perfect for bloggers who are only sending a weekly update. So, if you’re a lifestyle blogger that just wants to send a weekly email containing your latest updates or a round-up of your best posts, this email service is perfect for you.
5. Spruce up your most popular posts
The best way to get more email subscribers is to find your most popular blog posts and add more lead magnets to them.
Davina from Sheep and Stitch places her opt-in form right at the bottom of every knitting blog post. So it’s super easy to get on her email list!
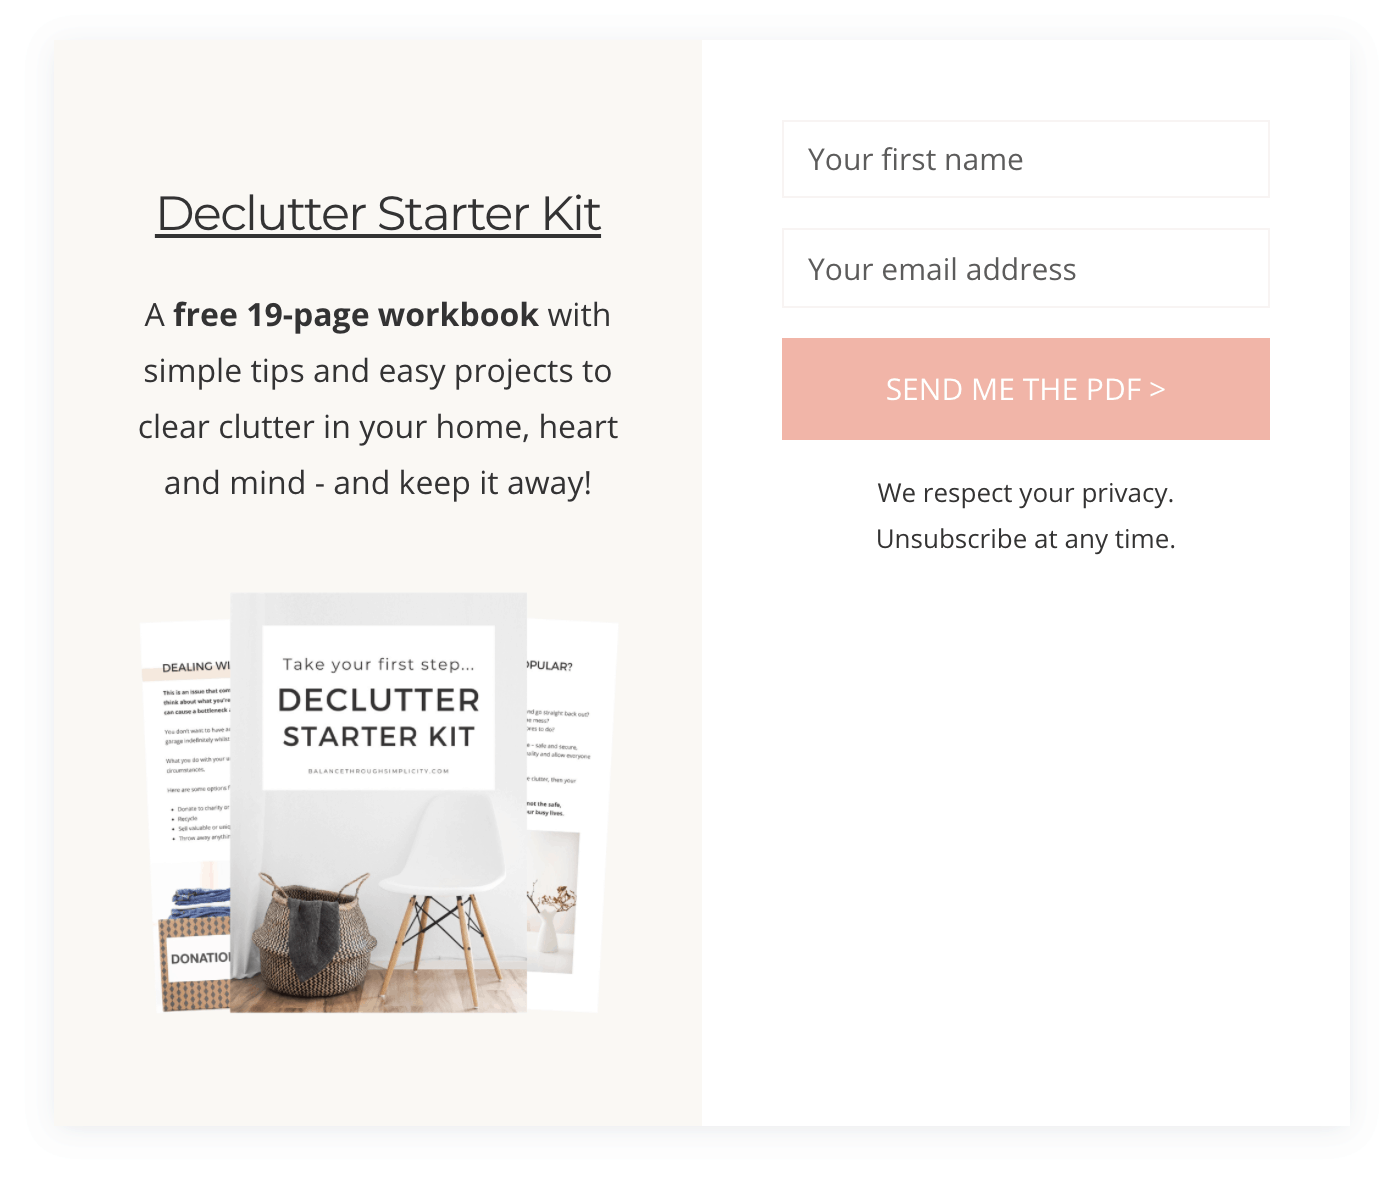
I also love how Antonia from Balance Through Simplicity adds a neat opt-in form to her decluttering guide at the end of every post too!
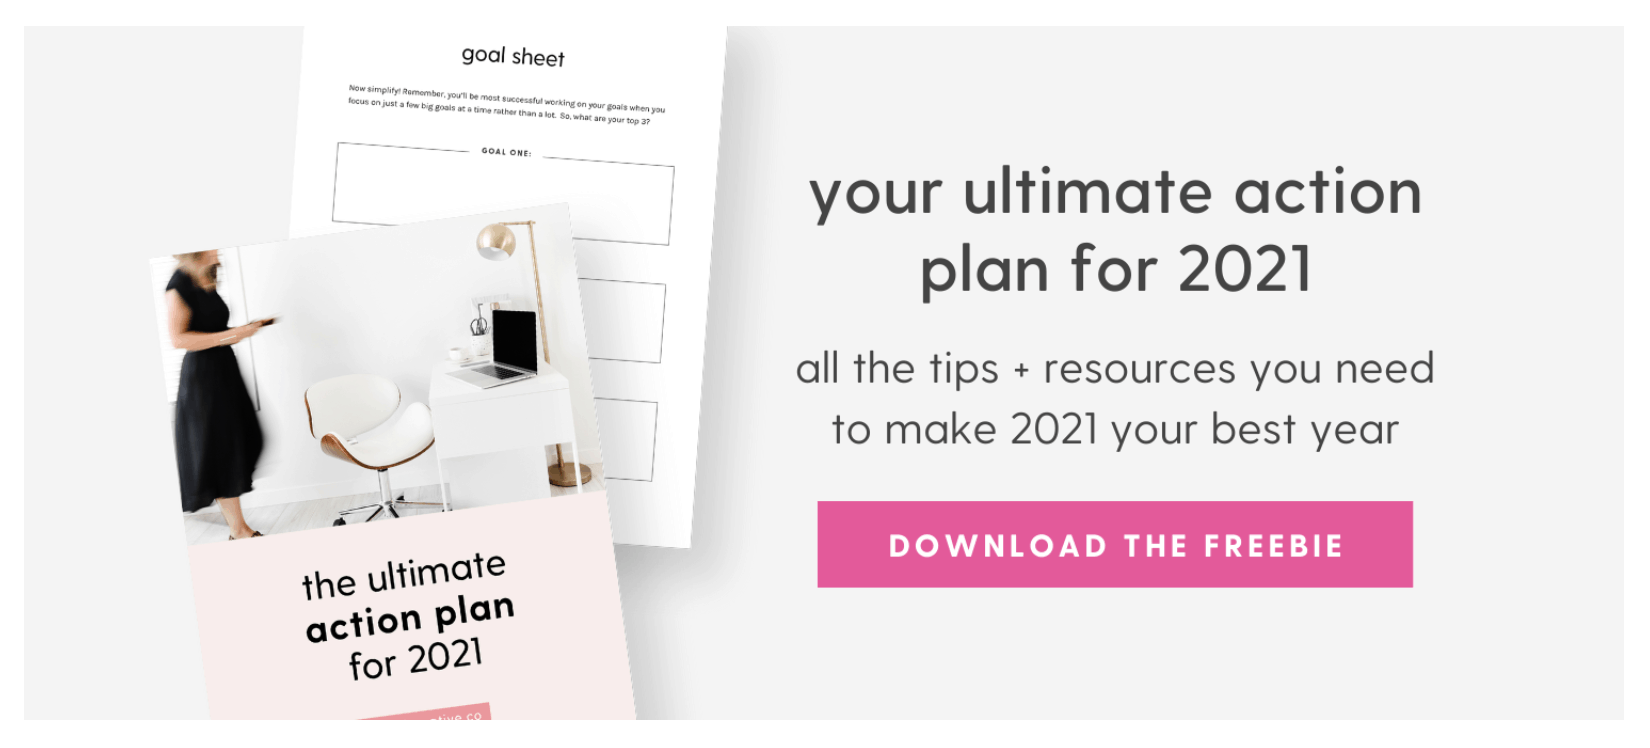
Or take Cory who features her freebies in beautiful horizontal banners that are sprinkled in between her posts:
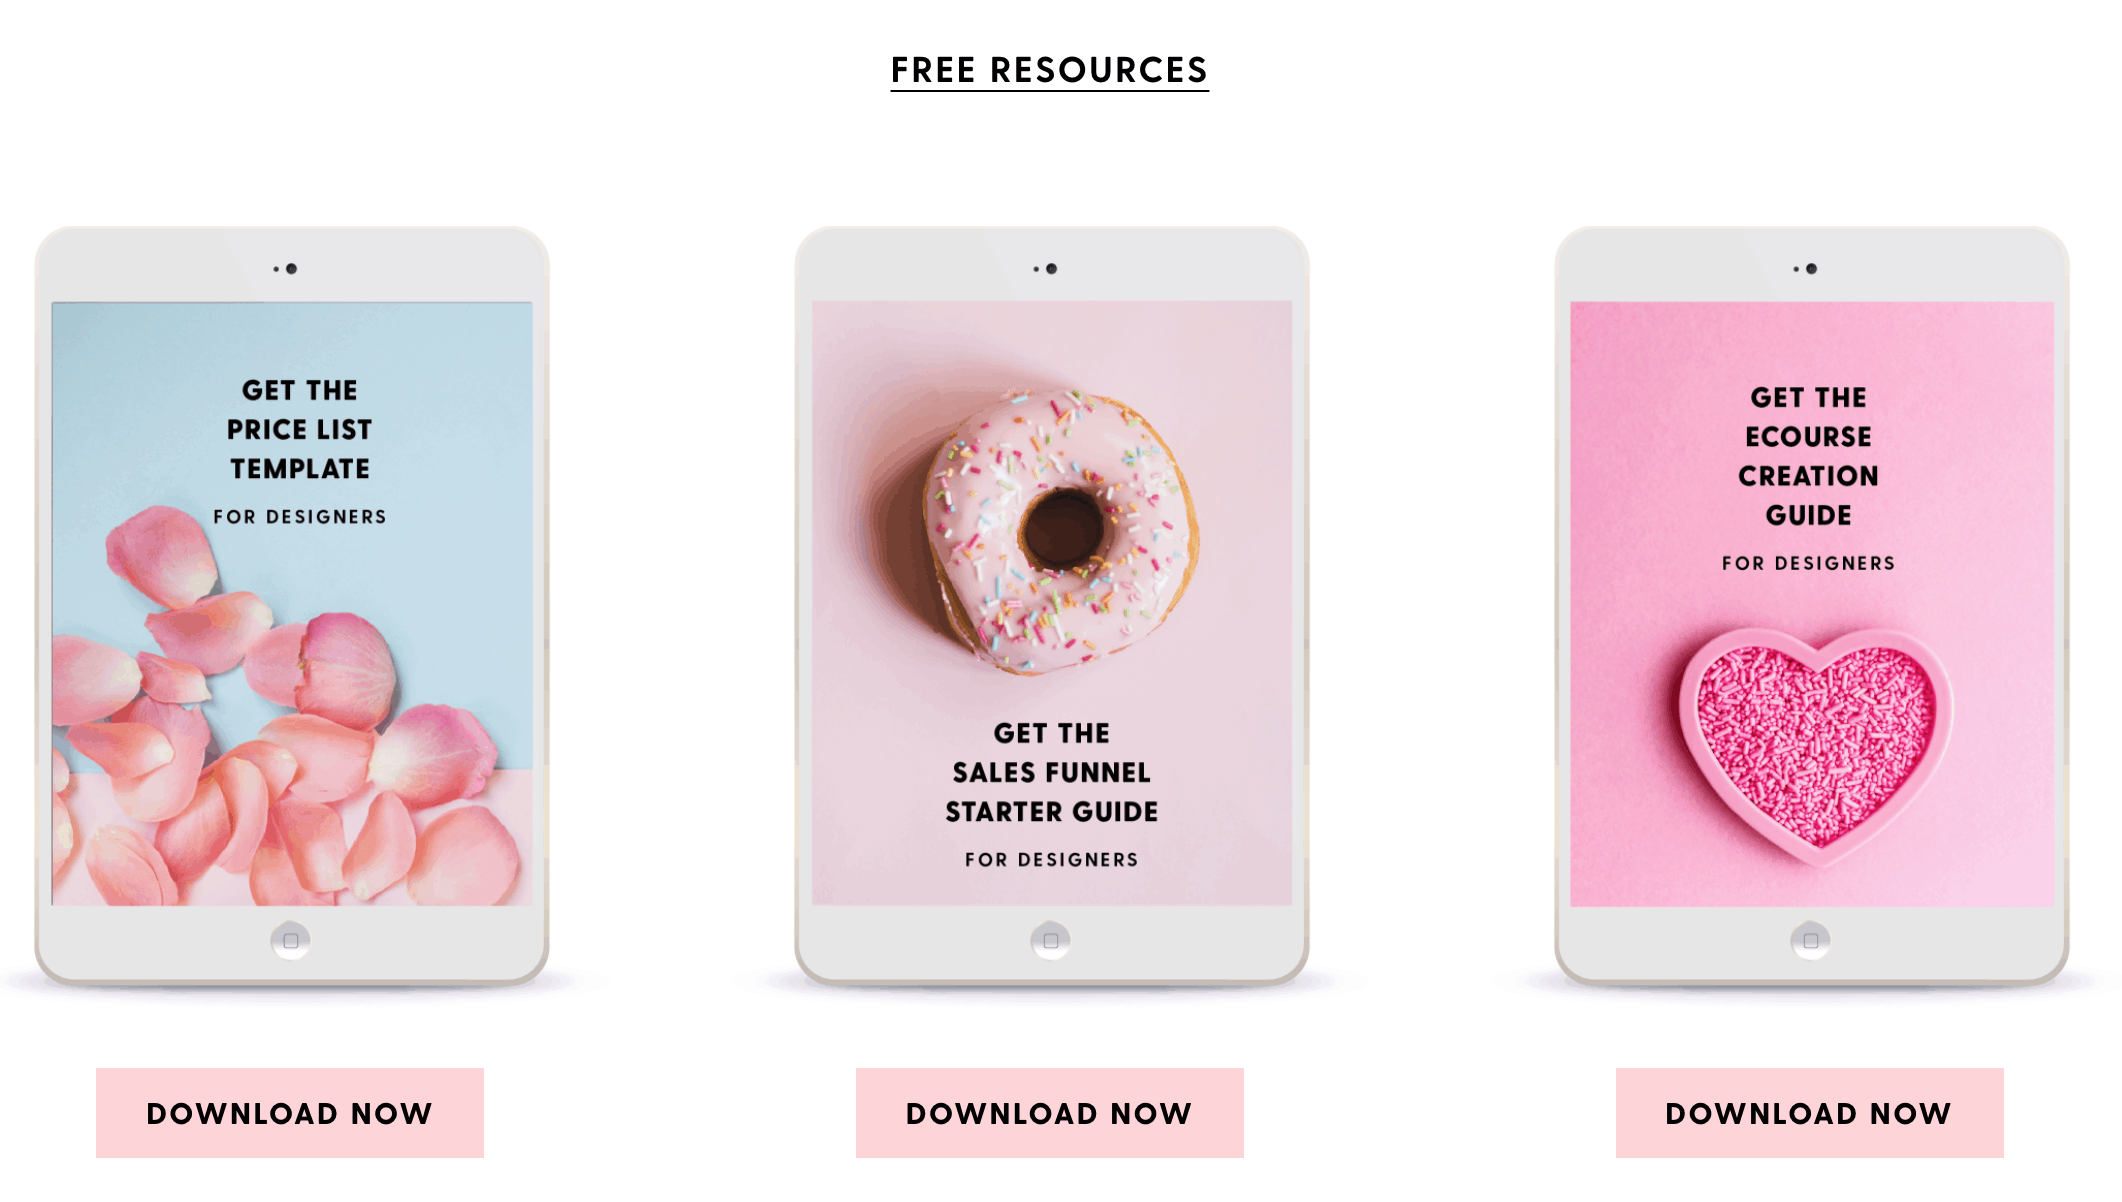
You can also create a resource library with your best freebies all in one place. But make sure that each freebie image links to its own landing page. This way you have more control of who’s getting into your email list and it becomes easy to segment your list.
Anna Dower does this beautifully with her Blog:
6. Create pins directly for your landing pages
Now you’ve pretty much done all the work you can do on your blog.
It’s time to get some traffic to that landing page so you can grow your followers. An excellent way to do this is to create multiple pins that directly point to your landing page! This is the best way to grow your email list fast.
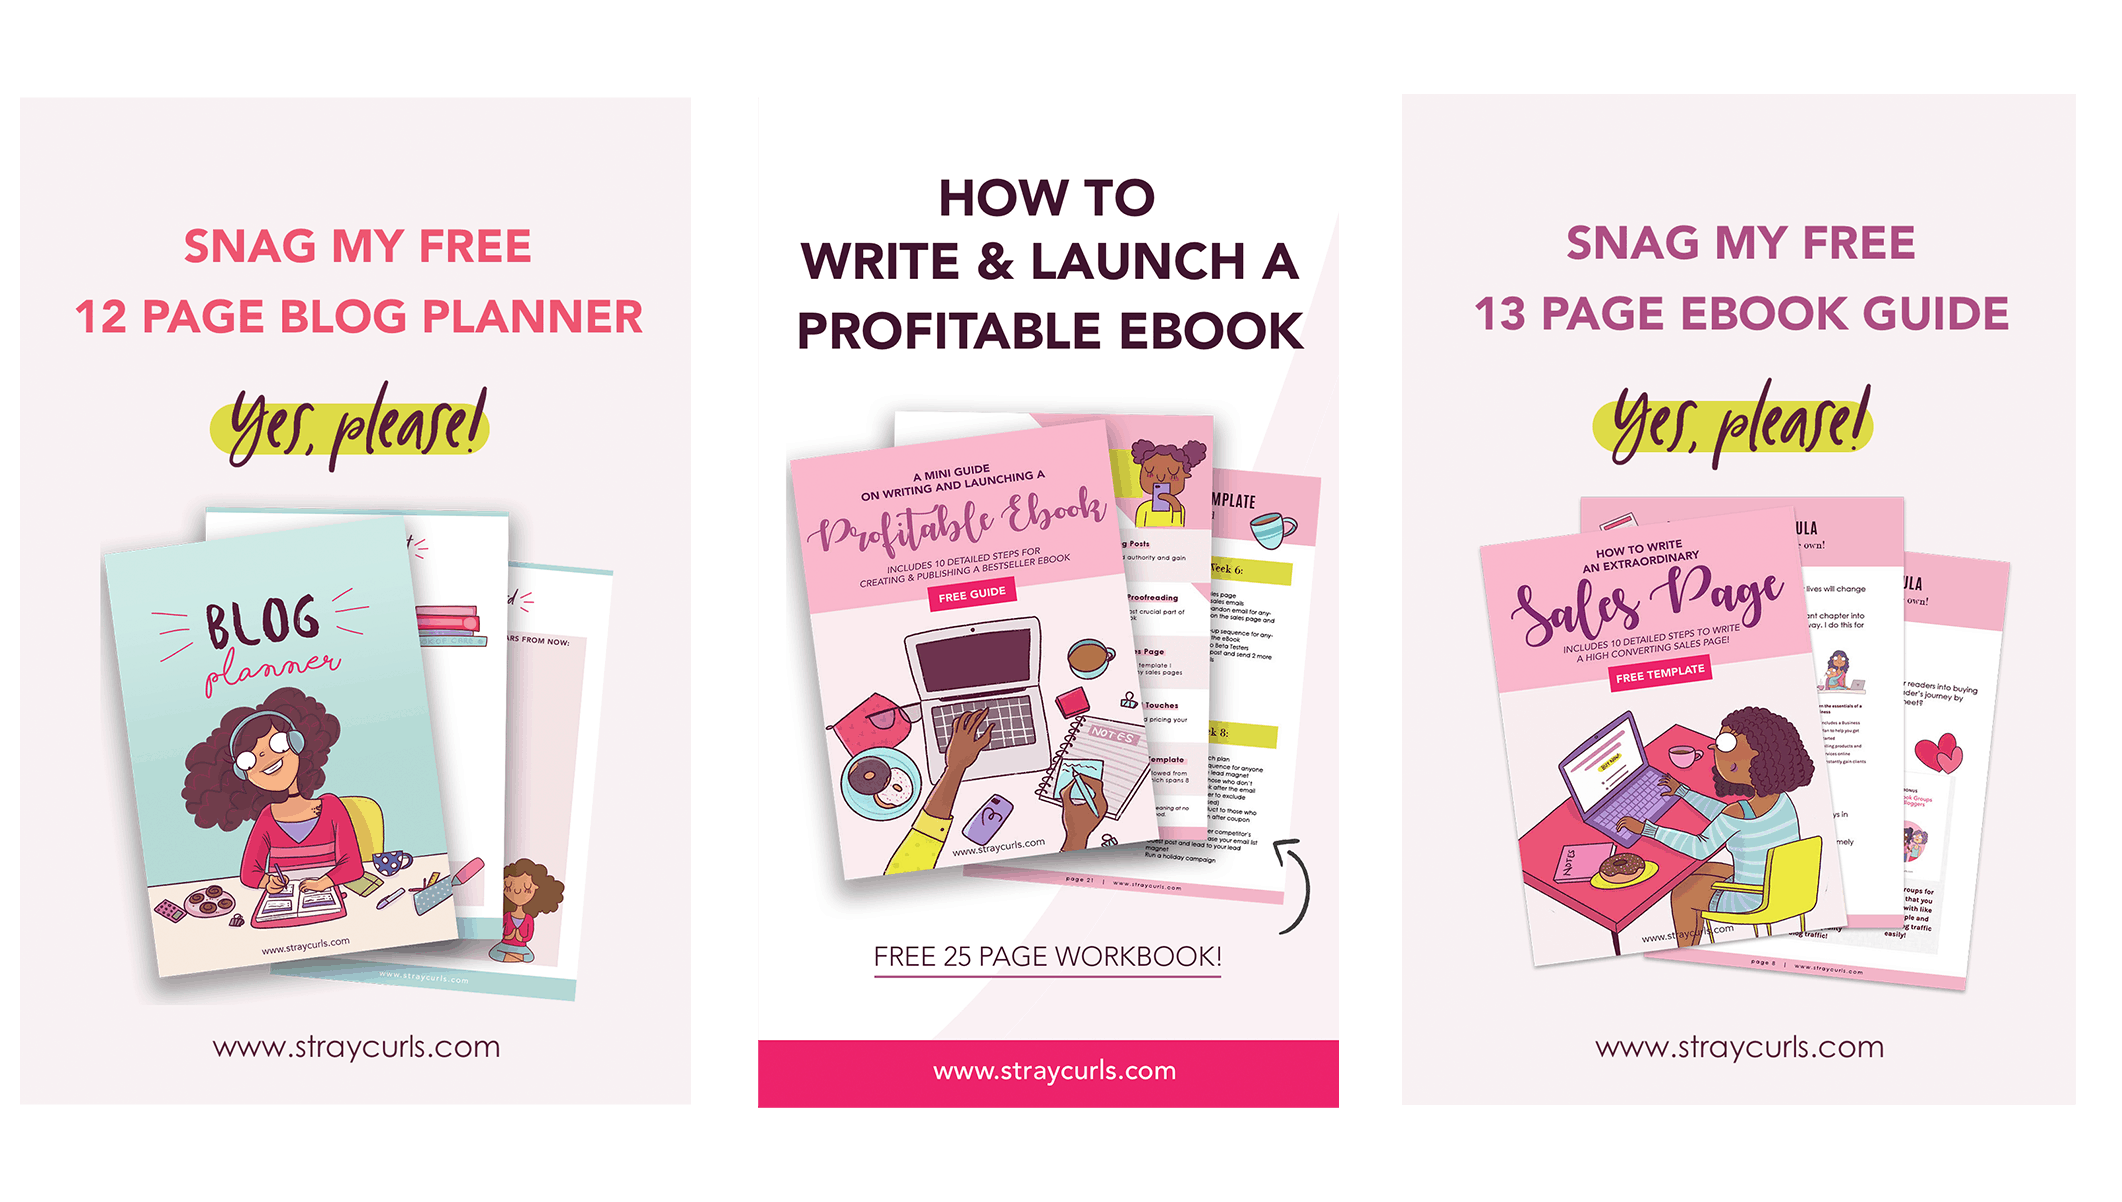
I make multiple pins that directly point to my freebies. I try to incorporate my illustrations into all of them.
The best way to create pins for your lead magnet is to feature a mockup of your freebie and include a nice big arrow to it. Use words like “Free download!” “Snag this checklist,” “Grab this template now!” to draw attention to your pin.
Here are a few examples of how I’ve done this.
Remember to keep your colors and branding consistent. You want your followers to know immediately that the pin belongs to you.
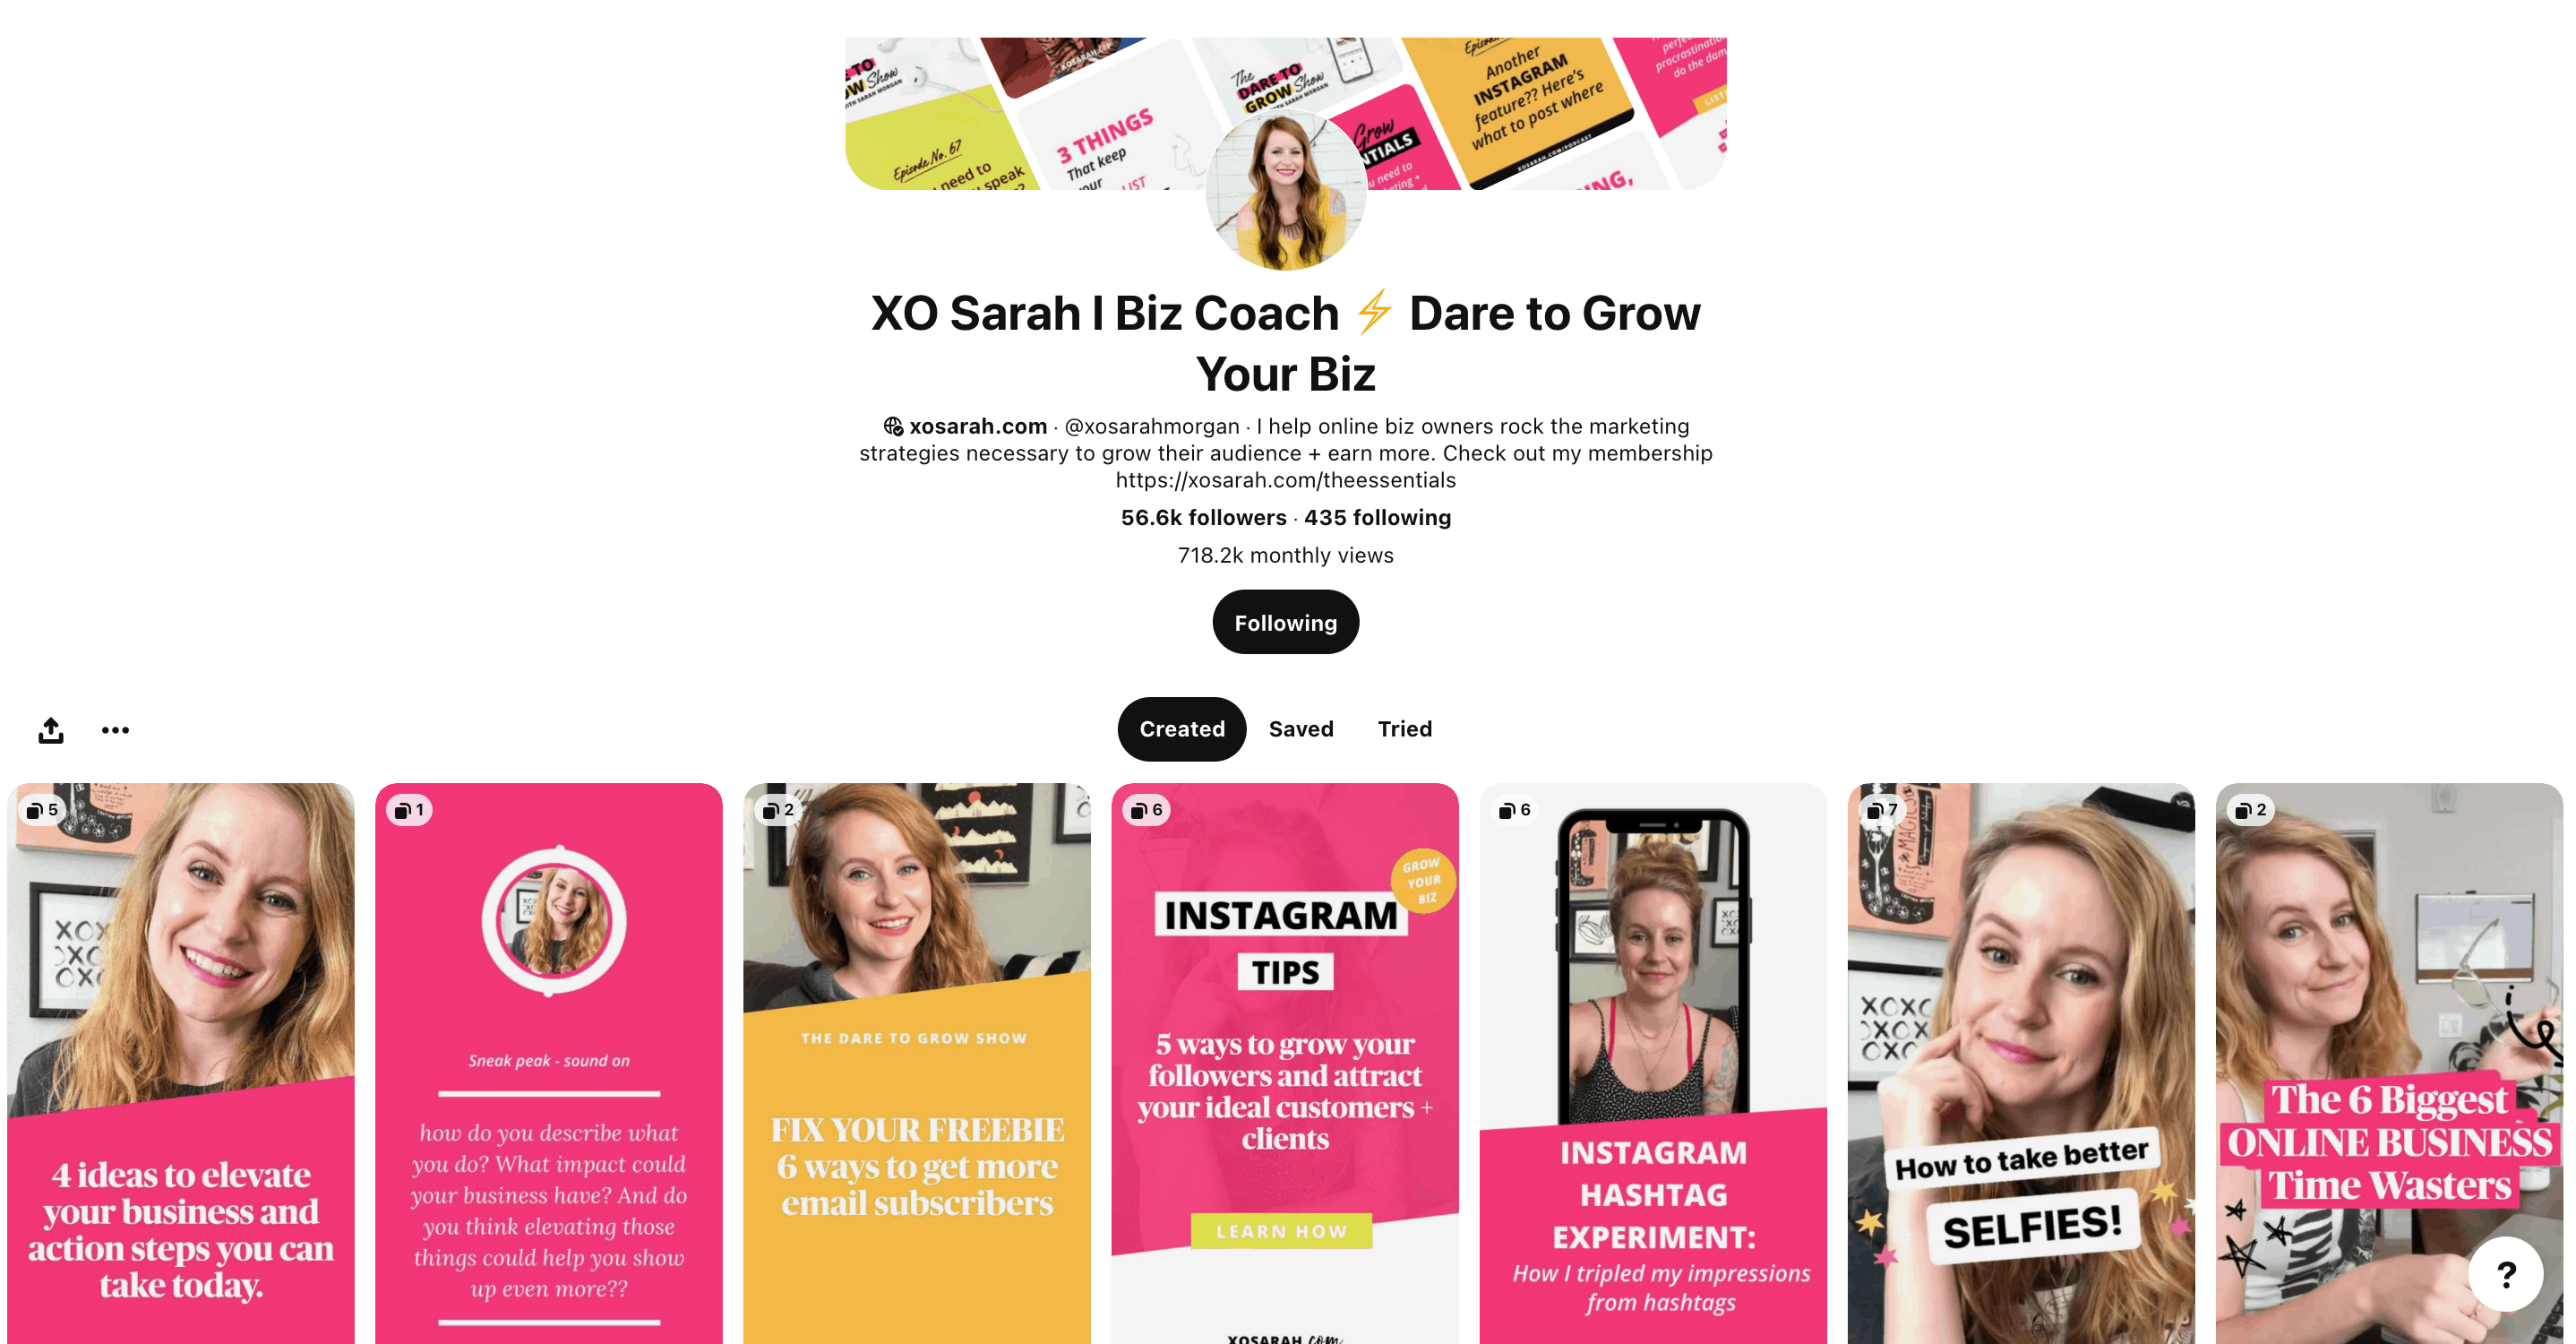
For example, Sarah’s pins are very unique because they’re cohesive with her Brand’s colors.
Read my latest Pinterest Strategy for Bloggers in this post.
7. Constantly talk about your lead magnets on social media
You can recycle your horizontal banners for Twitter and Facebook.
So, I use SmarterQueue. I schedule everything in advance and put it on evergreen mode, meaning once all the posts are scheduled, it will recycle the posts. This means that I don’t even need to sit and schedule my posts once a week.
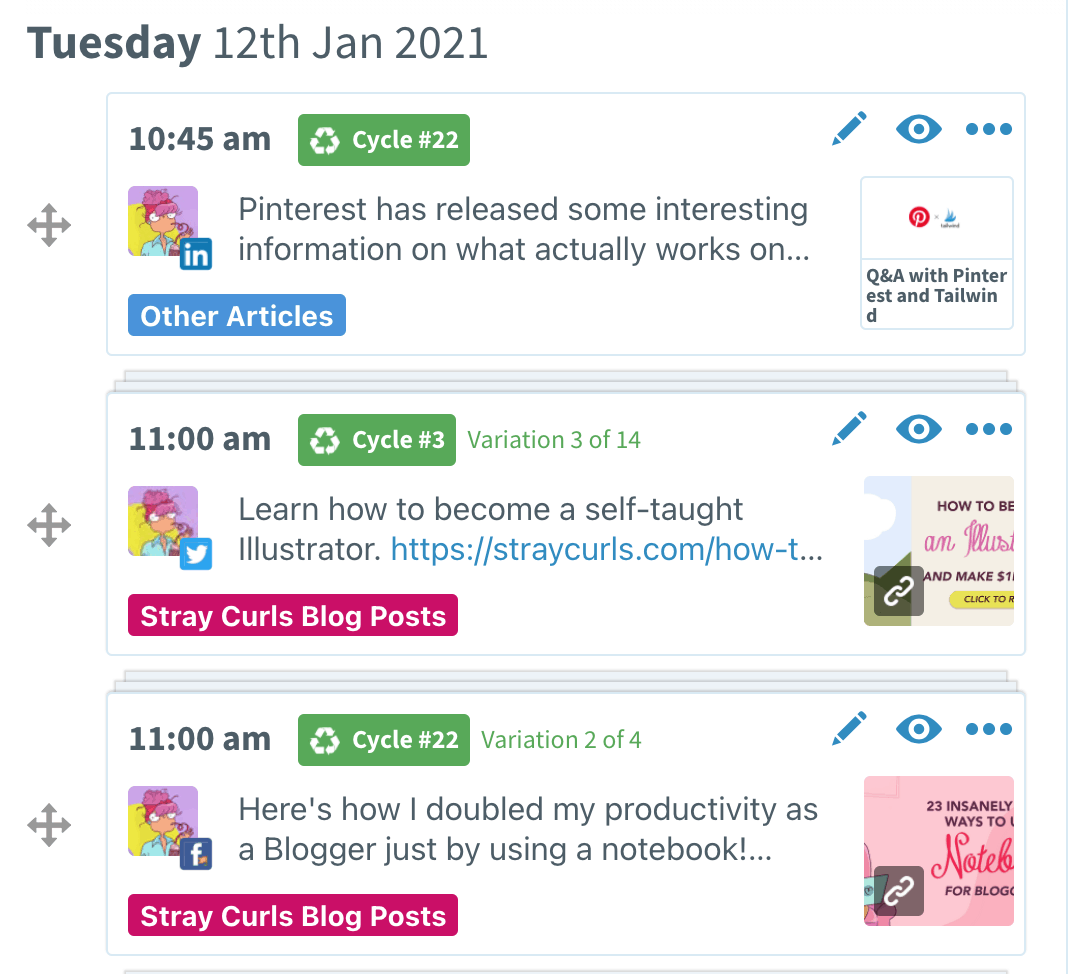
I’m super lazy with social media. I cannot afford to be everywhere all the time. So, I will write 7 variations of a post including a link to my lead magnet, and include 5 images, thus creating 35 posts!
Once a month is enough once I have enough posts that are recycling.
The best part? It’s only $19 a month. I don’t need a VA since I can put everything on auto-schedule.
Woot woot!
You can also include a link to your landing page in your Author’s Bio on your Social Media.
Additional places to feature your lead magnet:
The possibilities are endless. Remember, you need to make it super easy for people to sign up to your lead magnet. You don’t know which page someone is going to land on. This means your forms or banners need to be everywhere!
Here are a few more ideas:
- Add a vertical banner to your lead magnet to the sidebar of your blog posts
- Add a link to your lead magnet on your Home Page
- Include Horizontal banners within your About Page
- Add links to freebies in your Footer
- Add a welcome mat or a pop-up form to your most popular blog posts
You should make really good use of the traffic that’s pouring in. So, utilize every chance you have to capture those leads.
Conclusion
Woot woot! You made it to the end of this mighty long post.
I understand that growing an email list can be daunting in the beginning.
No doubt.
But with time, it becomes second nature. And the results are totally worth it.
Okay, it’s your turn! Let me know which method you are going to use to grow your email list!
And here are a few posts that you might enjoy reading:
- 33 Ways to Double Your Blog Traffic in 2021
- 10 New Blogger Tips that every Blogger Has to Implement now!
- How ConvertKit helps me make money every month
- Why your Blog is not making money + How to fix it!
- How to build a sales funnel from scratch in 8 simple steps!

Thank you for the post. I feel the hardest part of email is to get your subscribers engage with you, how do you keep that momentum?
You’re welcome Amira, your website is looking lovely by the way.
I am just super personal with my emails. I think that’s what is lacking with most newsletters – they skip straight to business. Start your newsletter with a bit of yourself and an update in your personal life. And talk to the reader like you’re sitting opposite them. This helps nurture a deep relationship. And always ask them to reply to your email with any questions they may have.
But the best way to get readers to engage is to develop an email series that onboards them and builds a relationship with you.
Let me know if you have any more questions. I’m happy to answer them!
Warm regards,
Angela
Angela, Thanks for another great post. Perfect blog to read right now. I was really getting frustrated with Mailchimp and really started taking email marketing serious because I never feel like I would be able to get used to all the automations. Convert kit is so much better. No wonder they say don’t push off email marketing. You need a good few weeks to get used to the platform.
Can’t wait for your next ebook to drop. ?
I honestly was in the same boat as you. I was growing frustrated with Mailchimp and I found it really hard to use. That’s why I shifted. Take the ConvertKit free plan, it’s so much better!
I just launched my eBook! :) Thank you! :D
Warm regards,
Ang
Thanks a lot. This helped me understand how to gain leads. I had no idea about lead magnets. I’ve been struggling for months.
You’re most welcome! :D
This list is really effective to grow my email…really its working great thanks for this info..
Happy to help, Ashfaq! :)
Thank you for such a great post! I love reading your posts and I will do back and re read then many times. They are full of so much information. Keep up the great work!
Thank you Melissa, I’m so happy you found this post super helpful! =)
I enjoy reading your blog and books and your drawing makes me enjoy reading your blog even more. This blog post was super helpful and I can’t believe thy I was reading till the end ?. Thank you again and I will keep reading your other posts
Thank you so much Kay, you are very kind. =)
Thank you so much for these amazing tips Angela.
I have not started my email list as yet but I am currently working on two freebies to start. I found your blog threw weeks ago and all your articles are super helpful. I’ve been saving a lot of your articles since then so I can read them later because they are very informative and provide clear steps that are very strategic and helpful.
Thank you Tanika, that means a lot to me.
I’m happy that you like my work and find it helpful – that’s my very intention, to simplify the whole blogging process. I wish you all the best. You just need 1 freebie – but two are even better!
Warm regards,
Angela